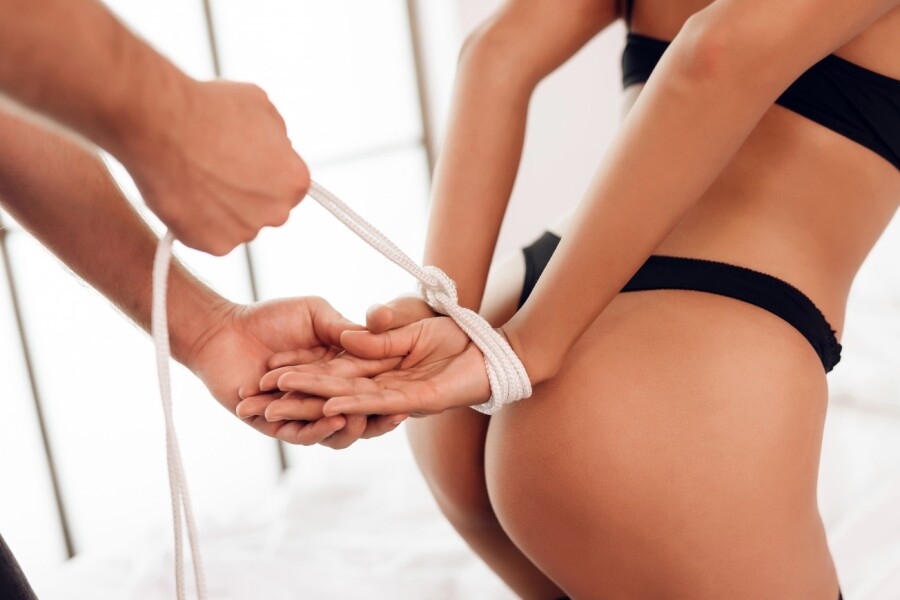
Tethering is quite popular in BDSM relationships. The Japanese even made a whole art out of it, called shibari. The instructions below describe the most popular and simple types of tying hands behind the back.
The length of the required rope is at least 10 meters, the thickness is from 5 mm (thin ropes cut into the body). Remember to use caution and safety precautions so as not to harm your partner. The rope should never be pulled tight enough to cut off circulation.
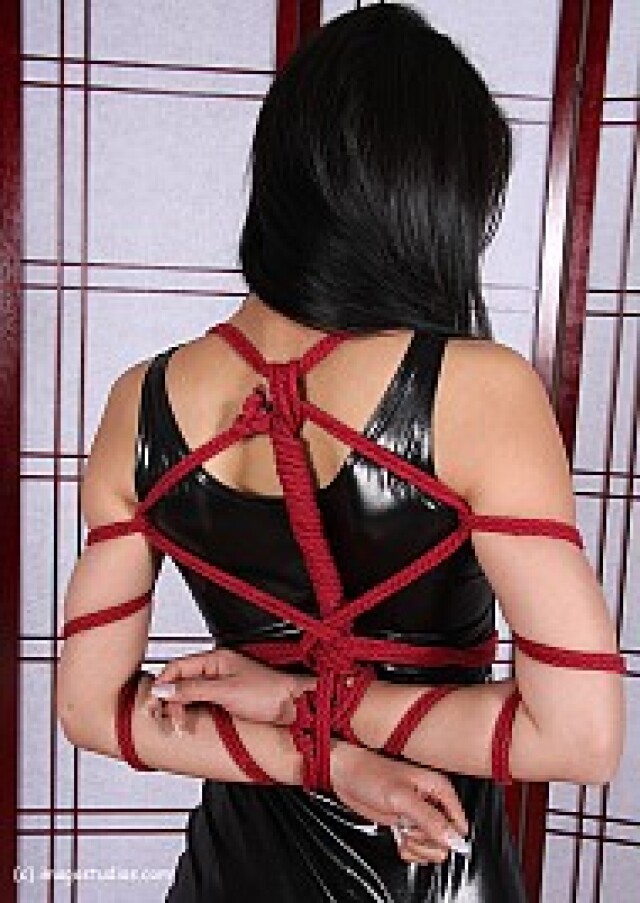
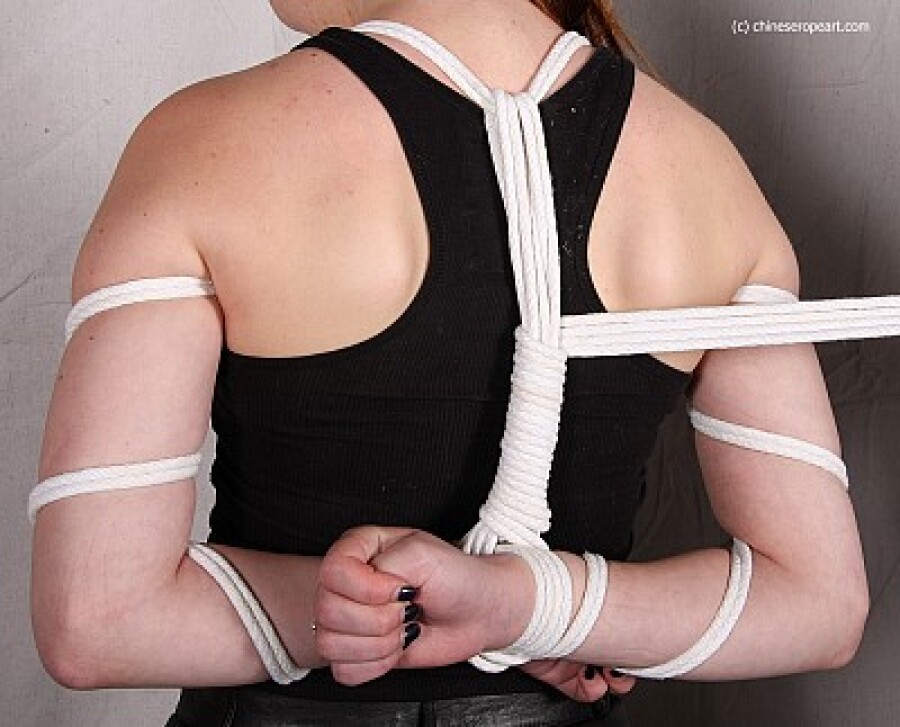
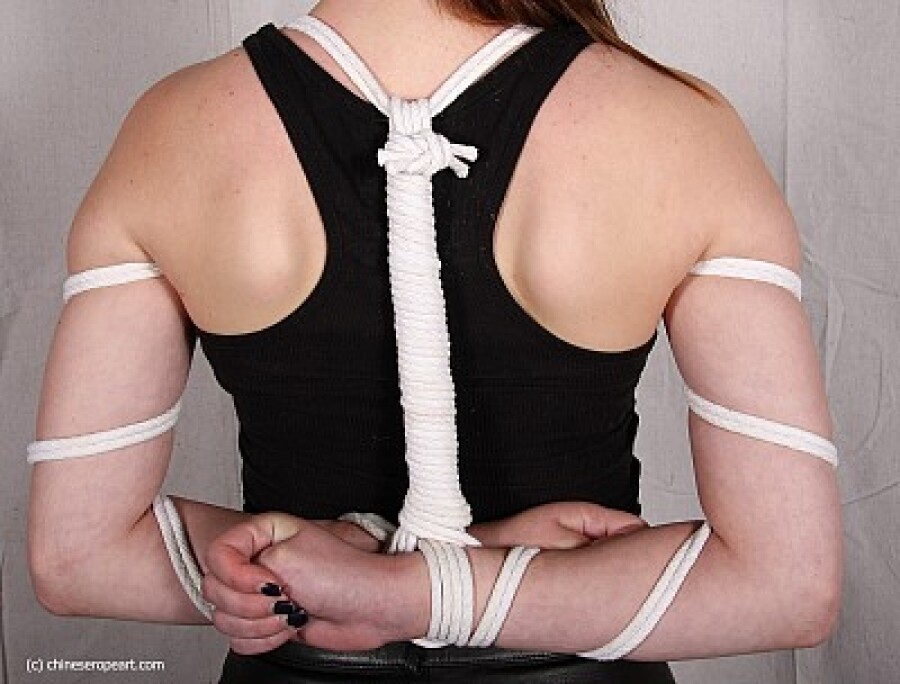
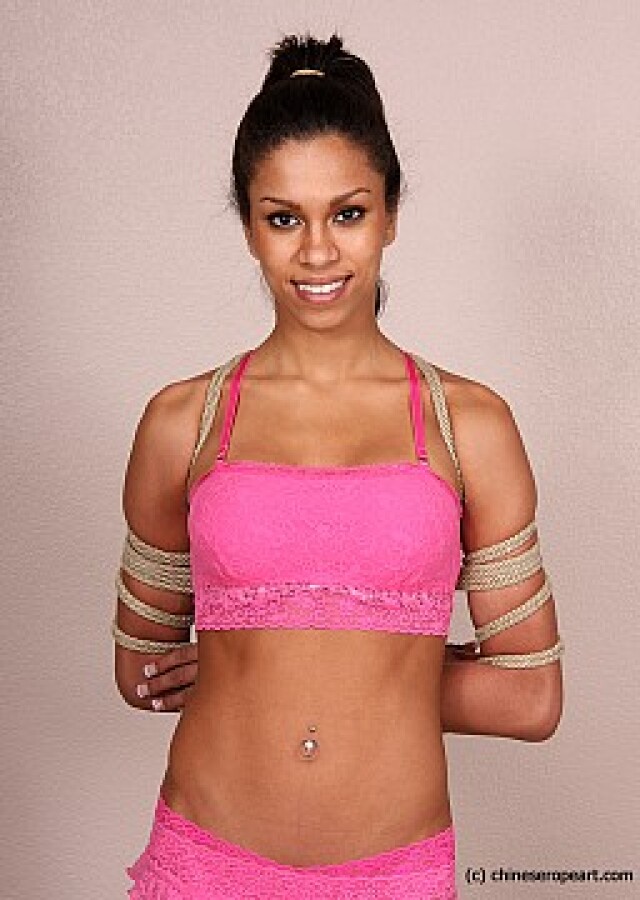
This type of binding restricts the movement of not only the arms, but also the shoulder joint, which can cause discomfort.
Contents
- Twin Rope Tying
- Single Rope Tying
- Linking with multiple spiral coils on the arms
- Pull the arms in the middle
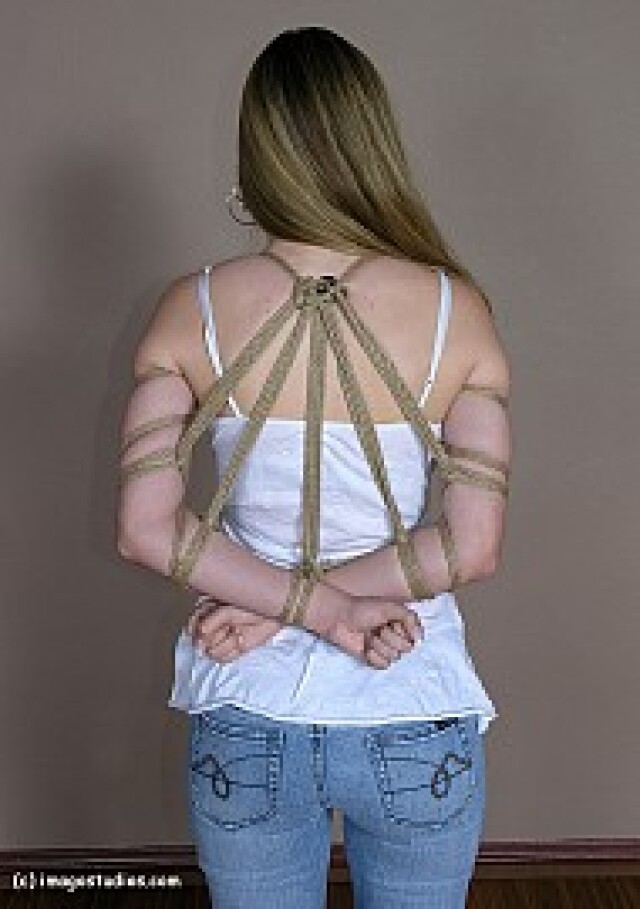
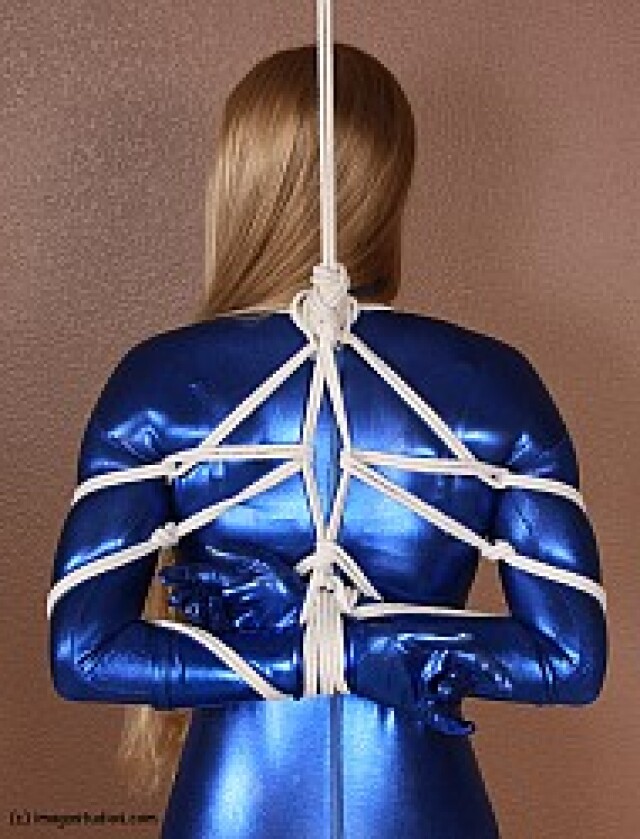
Twin Rope Tying
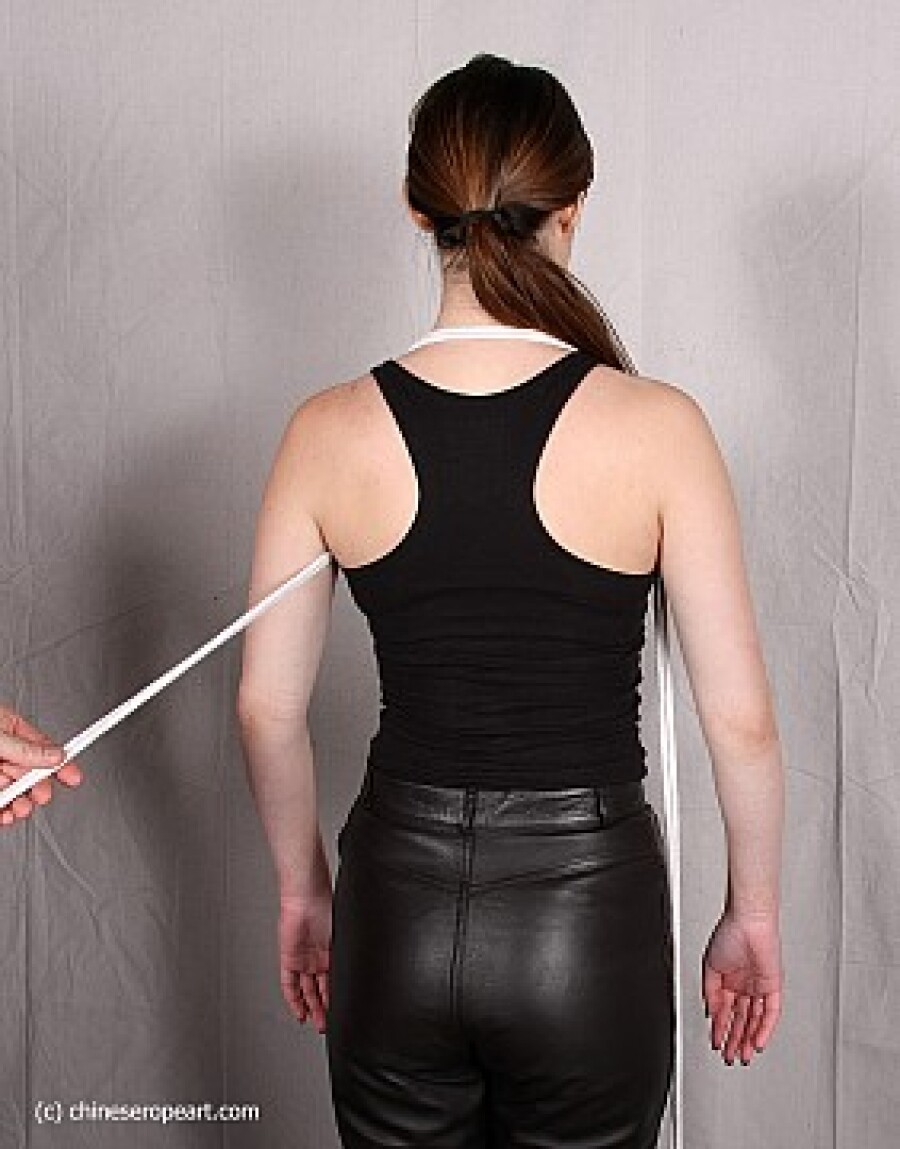
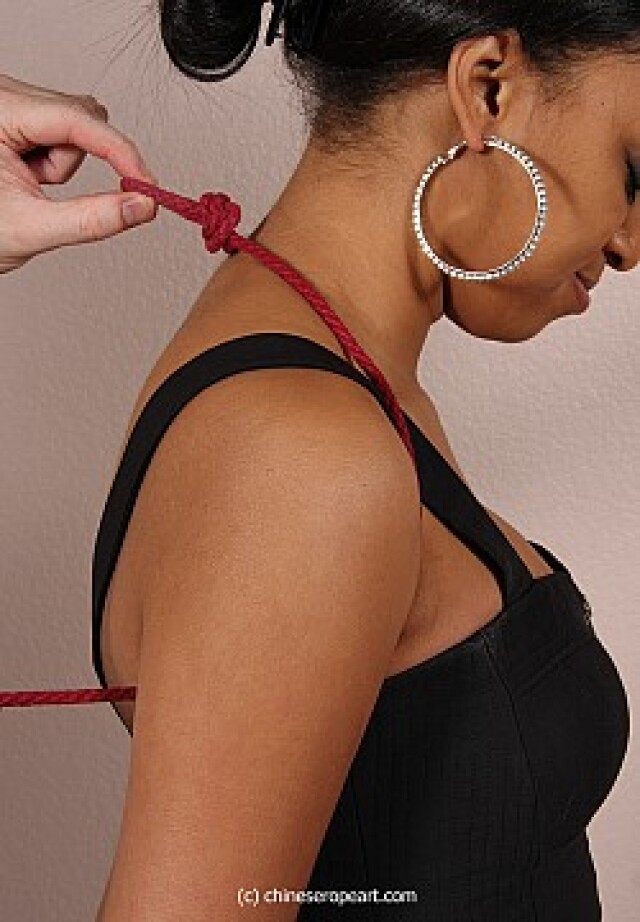
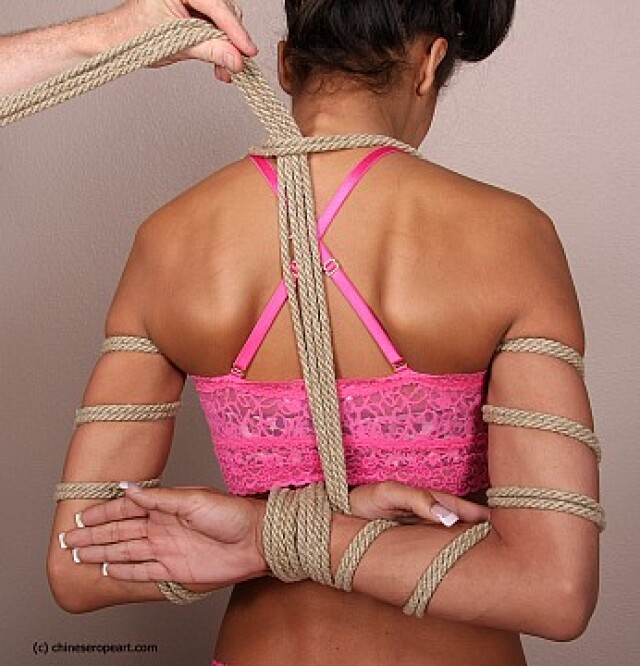
- Fold the rope in half, find the middle. Place the rope at the back of your neck with the loose ends hanging off your shoulders. Keep in mind that when you're done tying, the twine going through your armpits will put pressure on your body. Therefore, it is better to have the rope loose;
< ul>
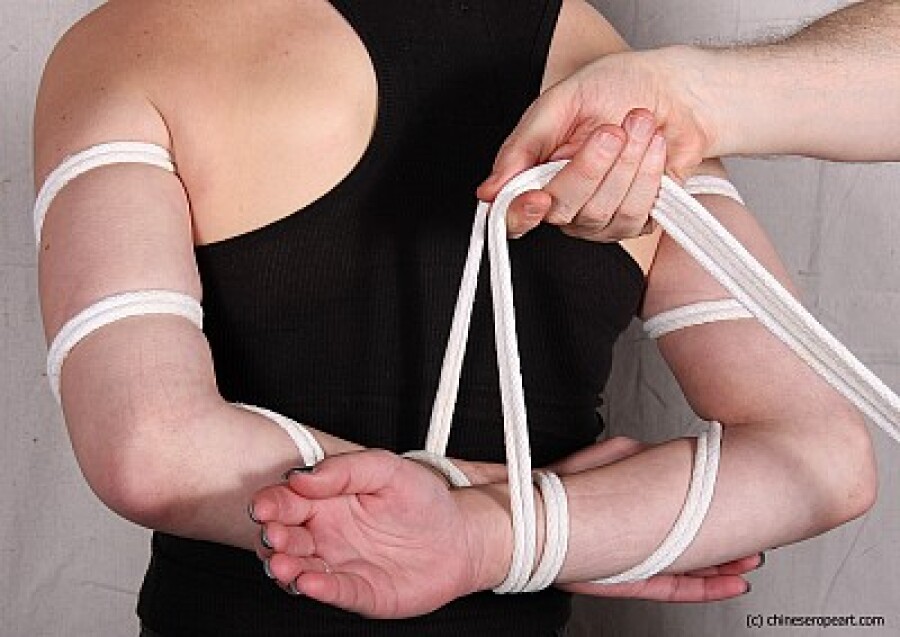
- As a result, both free ends of the rope will be wrapped around the wrists and pointing down. One end will be in the middle of the wrists, and the other will hang down from the outside;
< ul>
< ul>
< ul>
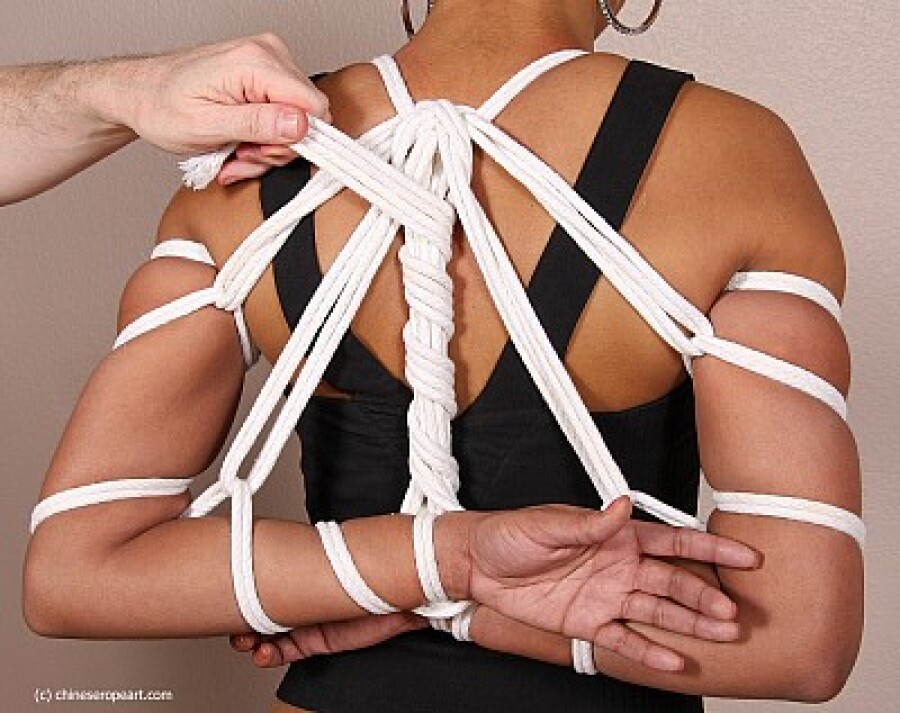
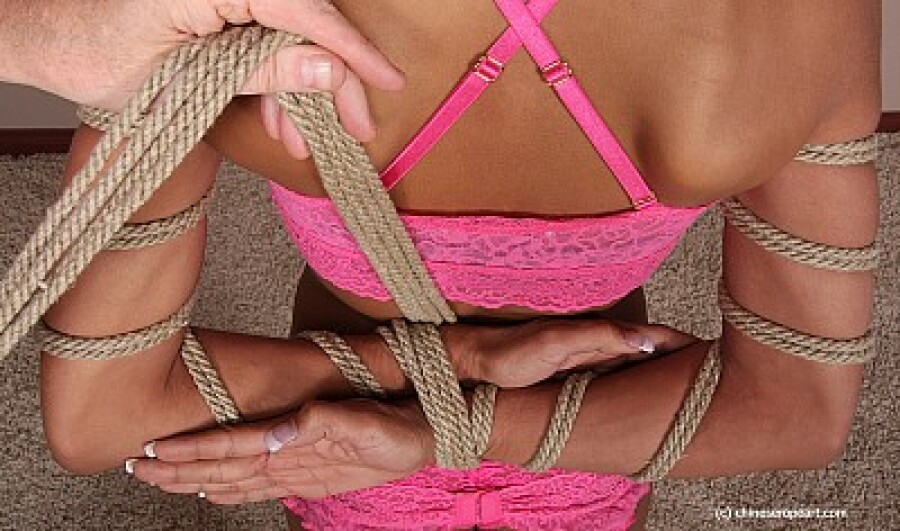
- Pull the two ends of the rope up and under the loop at the neck, and then down between the wrists on opposite sides;

 < /figure>
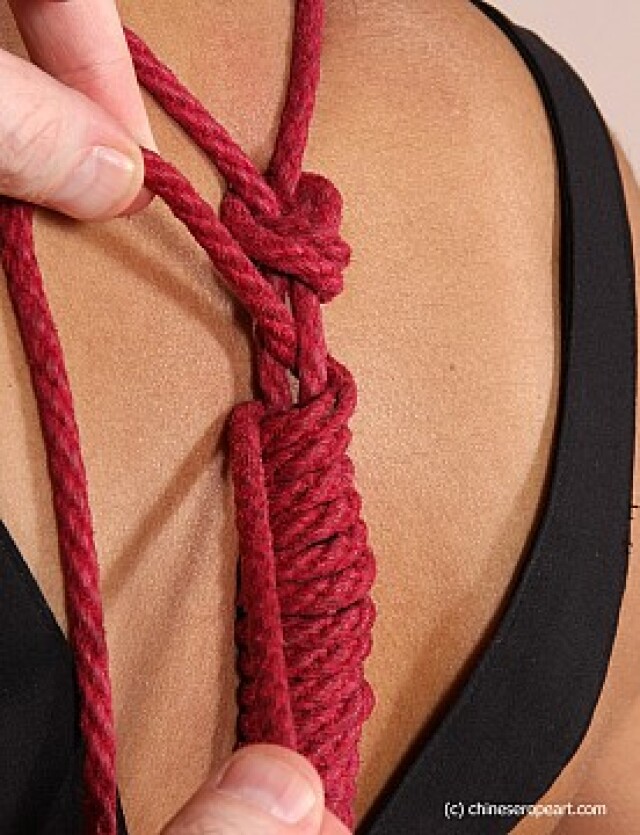
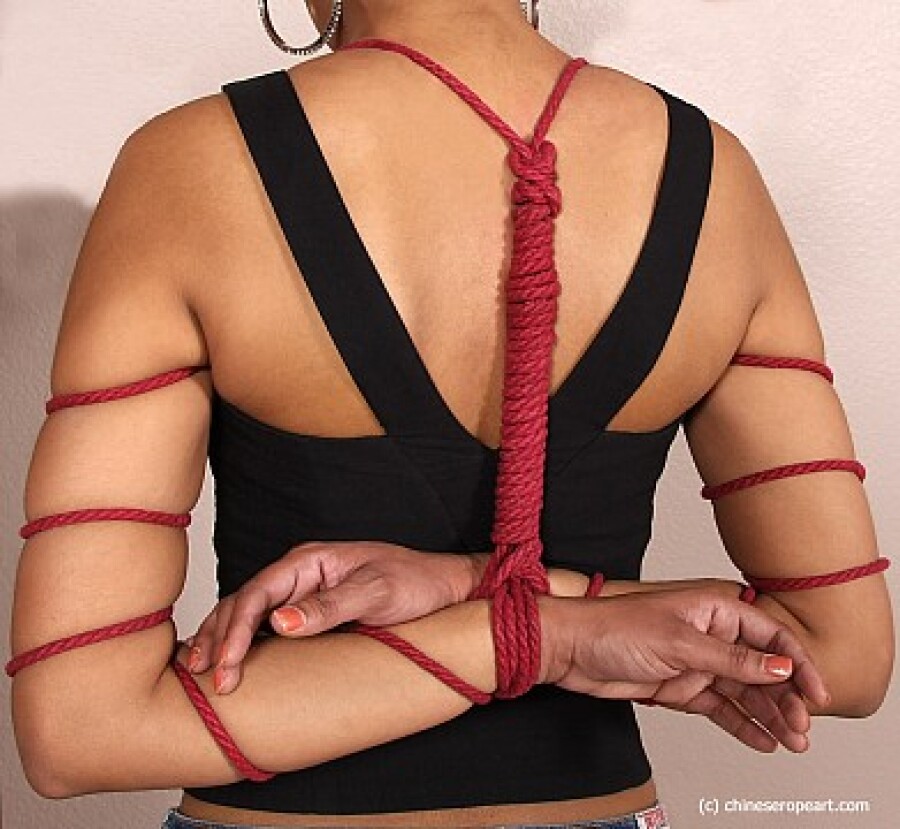
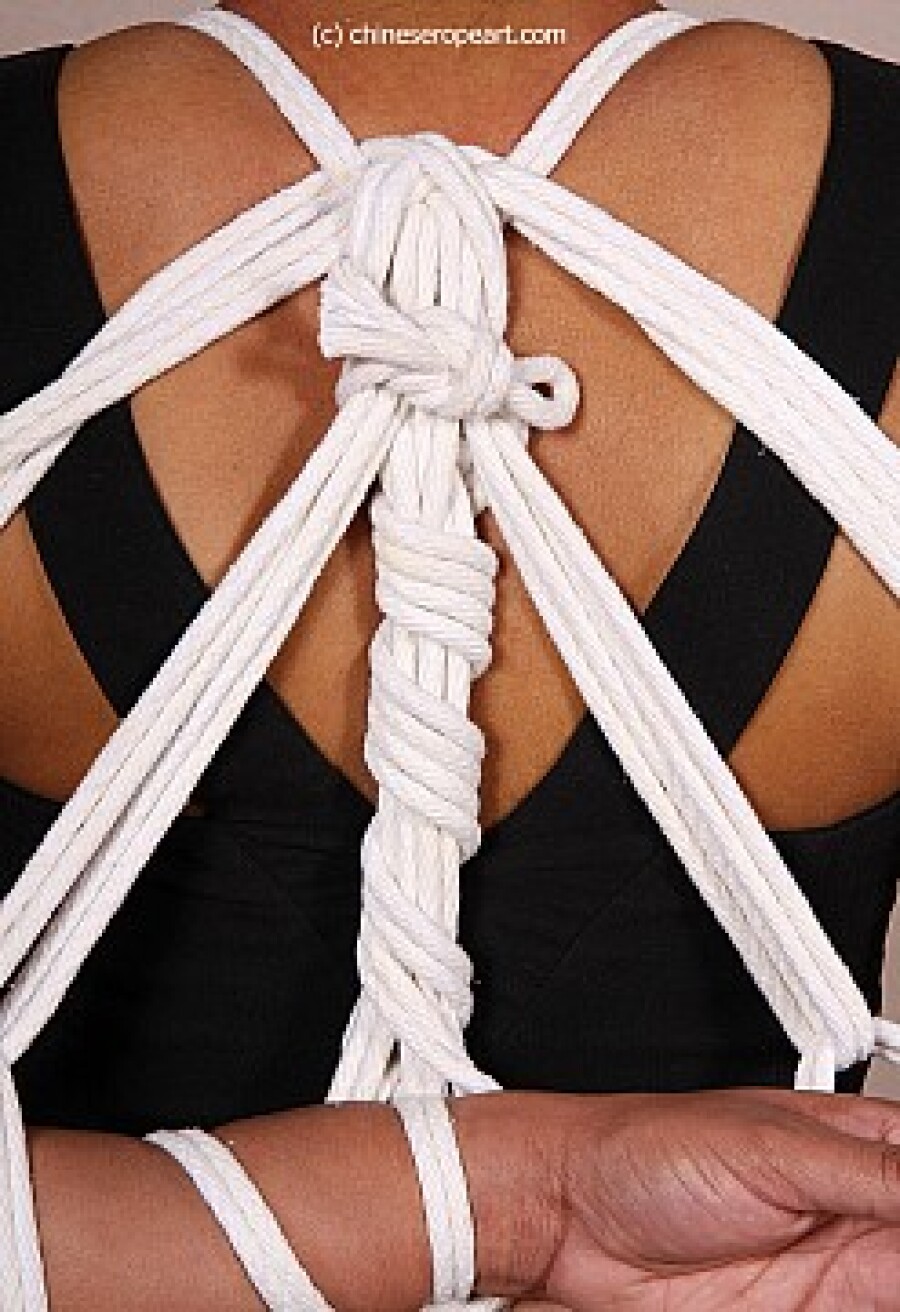
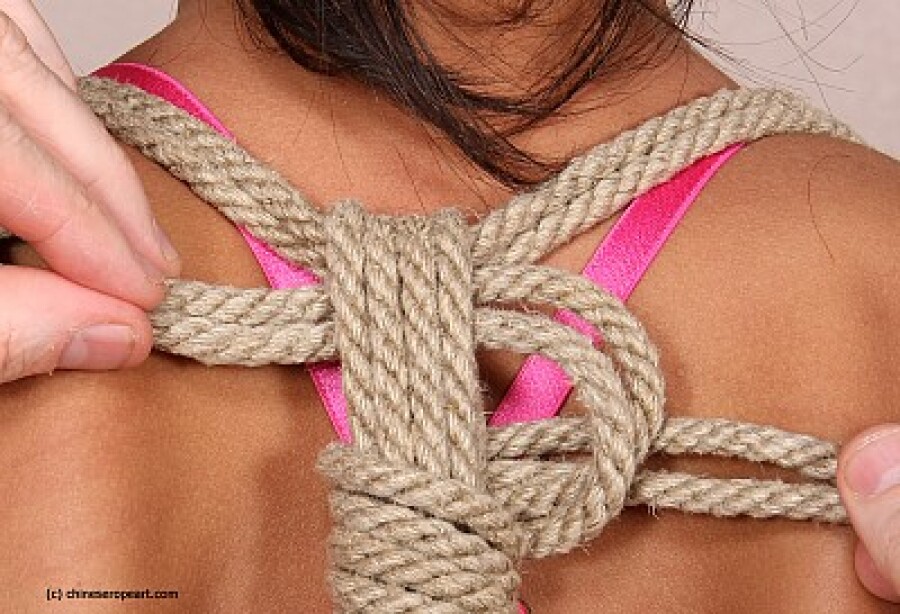
- Wrap both free ends in a spiral around the center rope going up. Try to do it evenly and neatly;
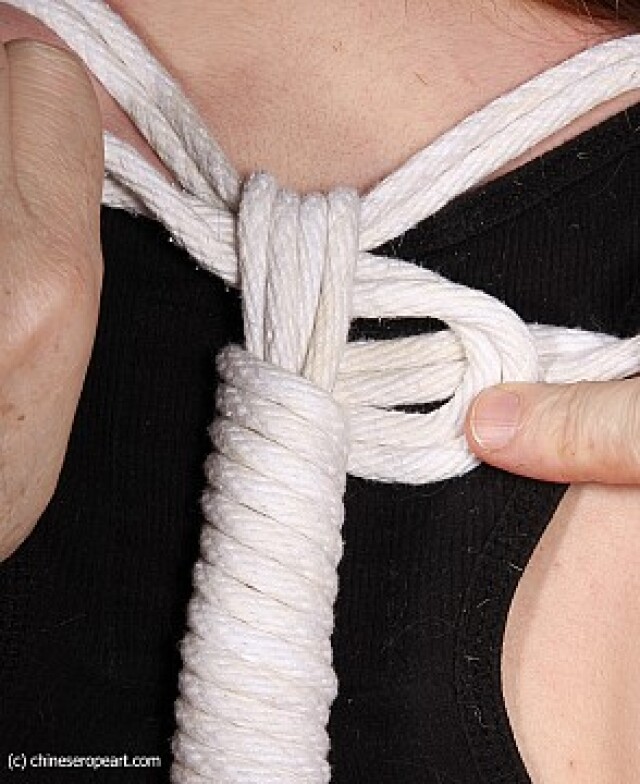
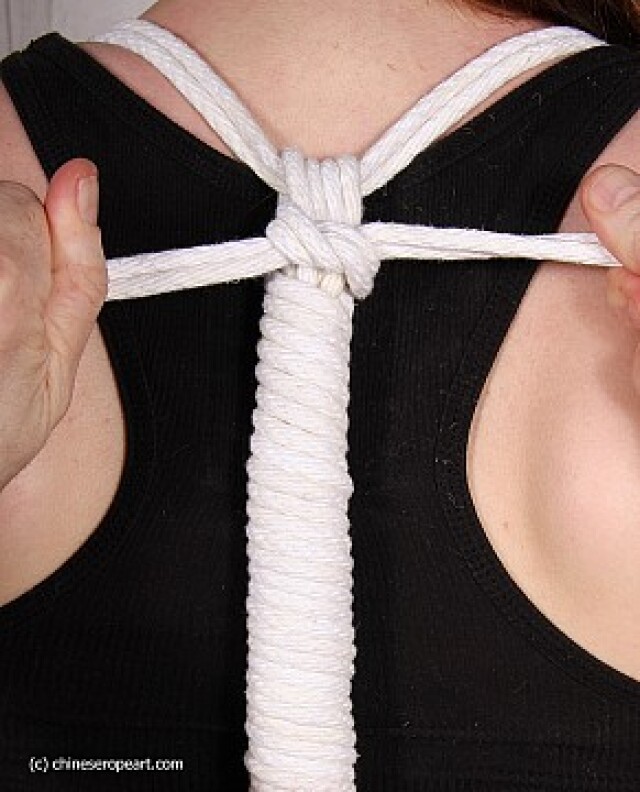
- Thread one of the twin ropes through the loop at the top of the vertical rope so that the ends run in opposite directions and you can tie a knot;
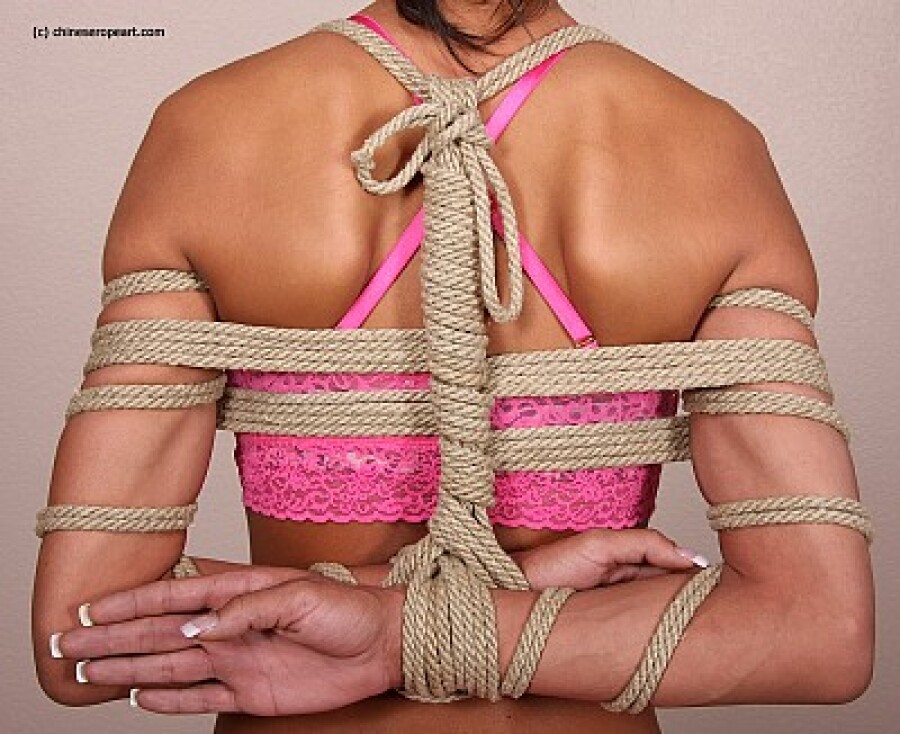
- Finish with a straight knot;
- The ends of the ropes can be cut for beauty;
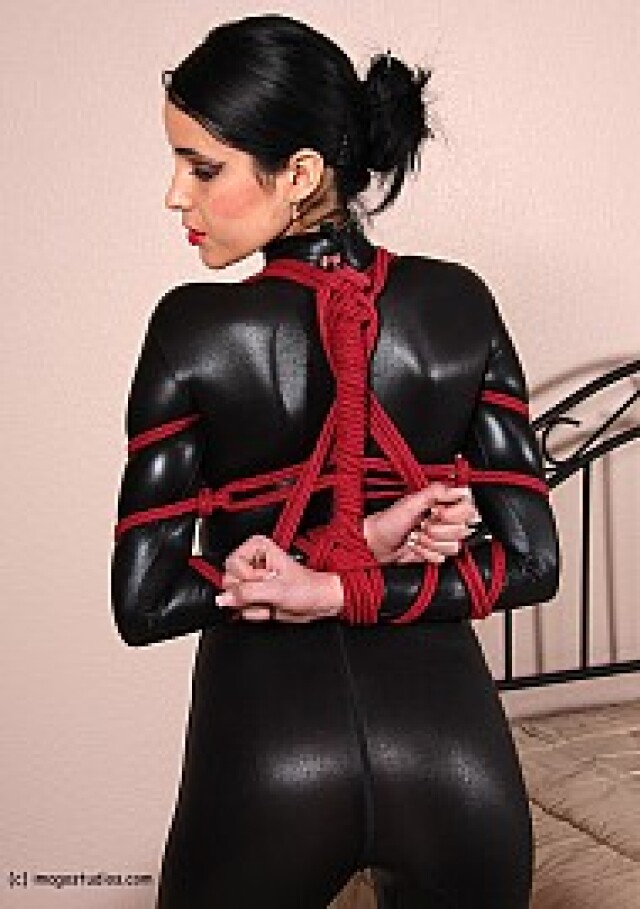
Single Rope Tying
This variant uses a simple neck knot and an alternative version of hand tying.
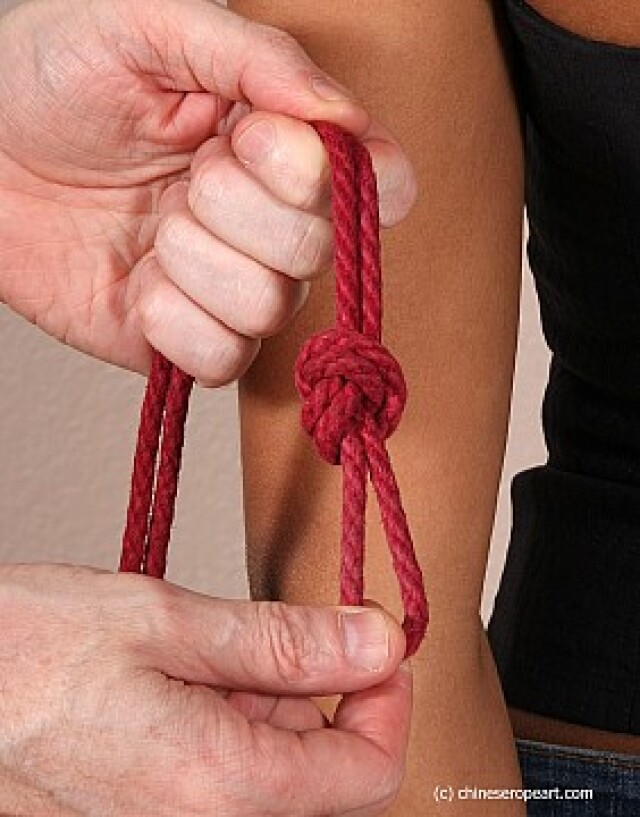
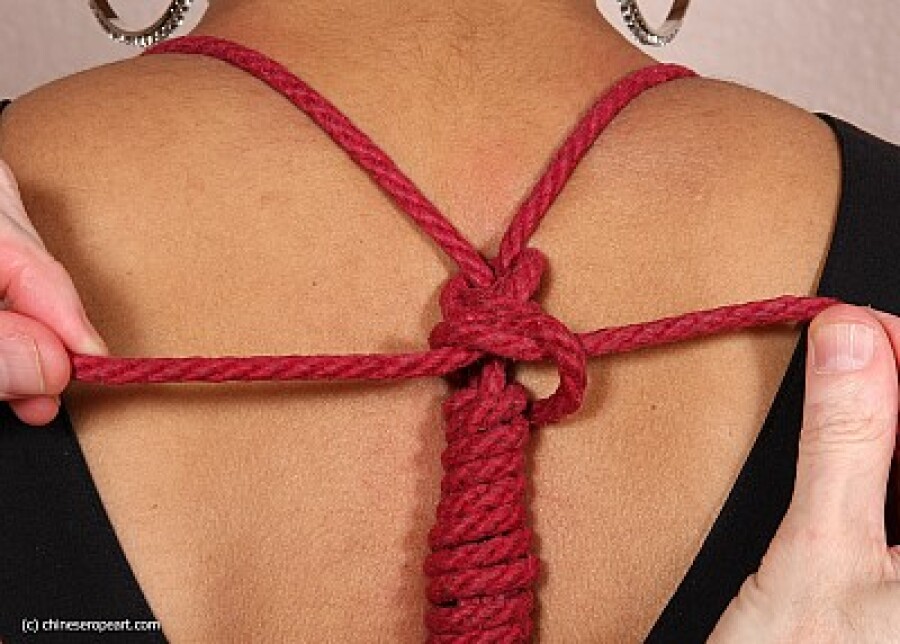
- To start, tie a simple loop knot in the middle of the rope. The loop should not be large;
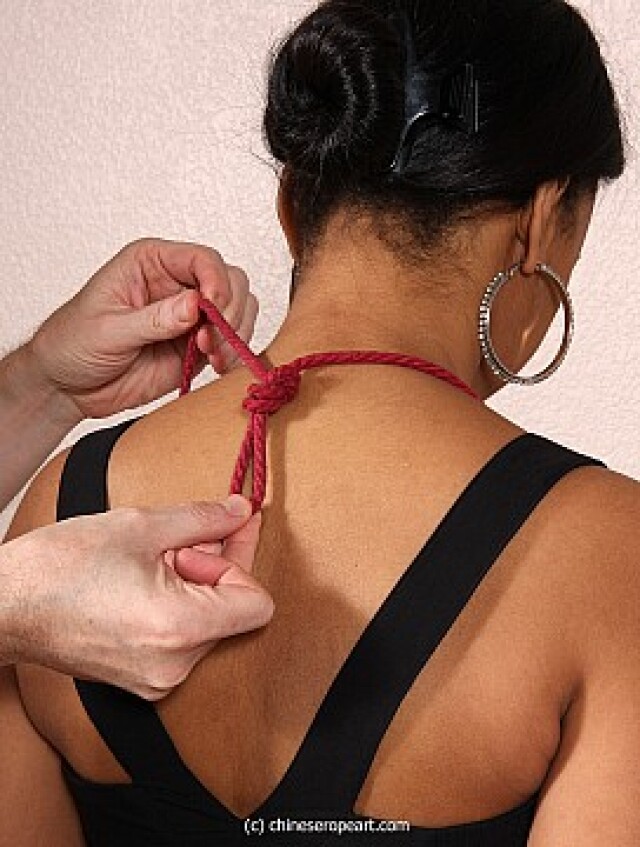
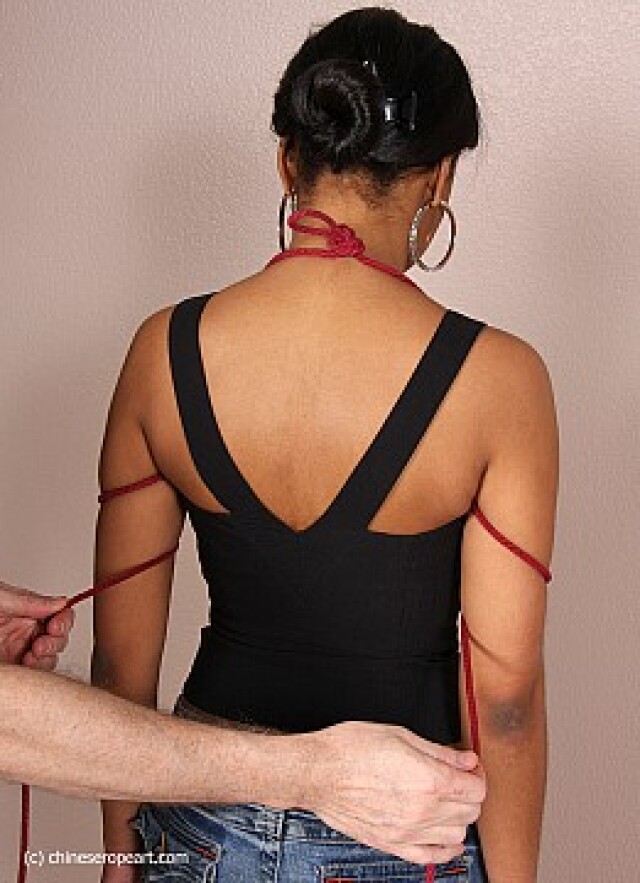
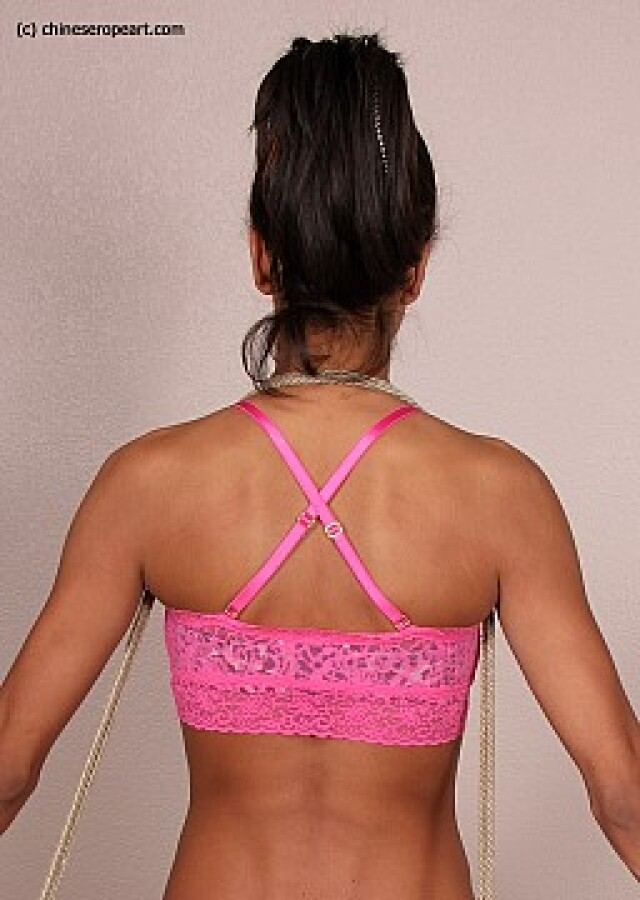
- Place a knot at the base of the neck and throw the loose ends over the shoulders;
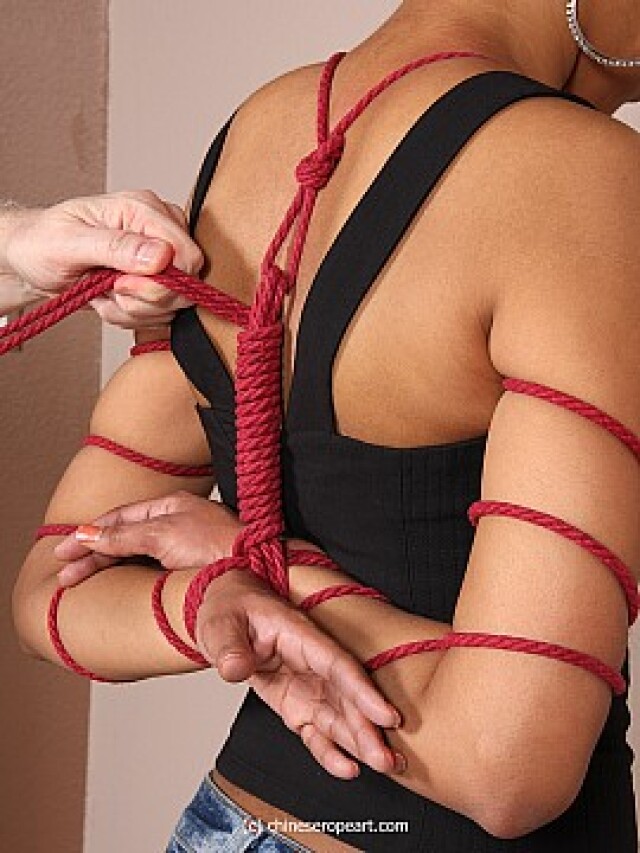
- Pass the ends through the armpits. Do not forget that after you finish tying, the rope passing through the armpits can put quite a lot of pressure on the skin. To prevent discomfort, it is better to make the rope a little looser;
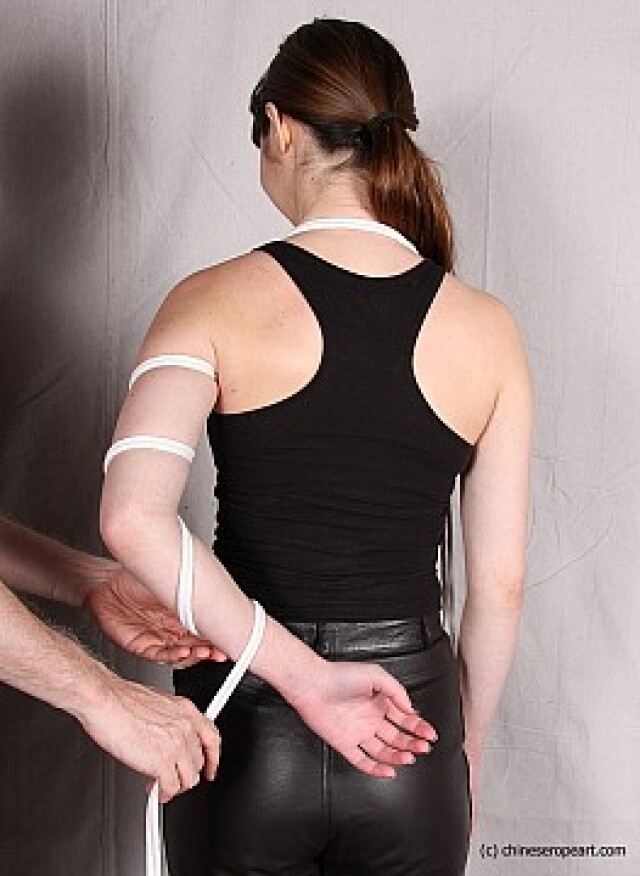
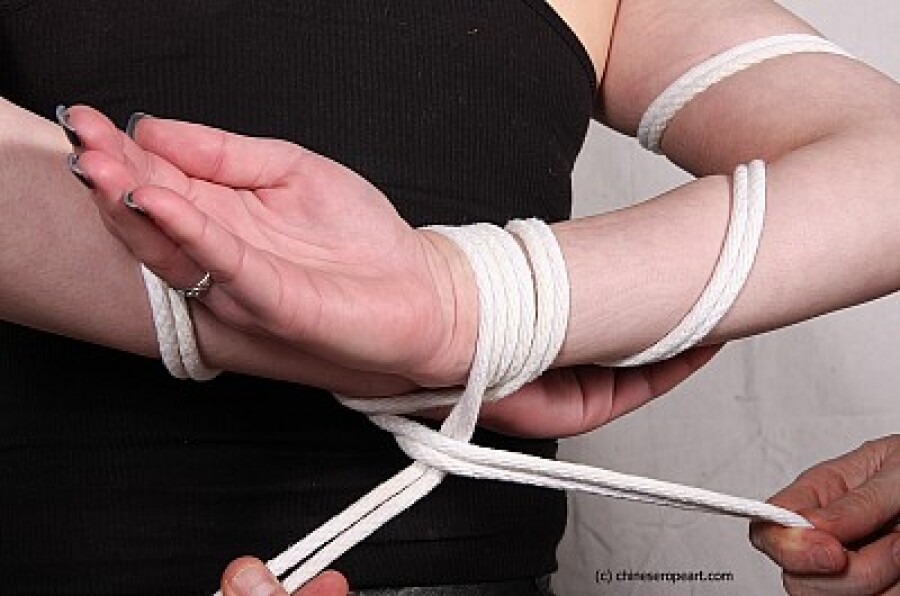
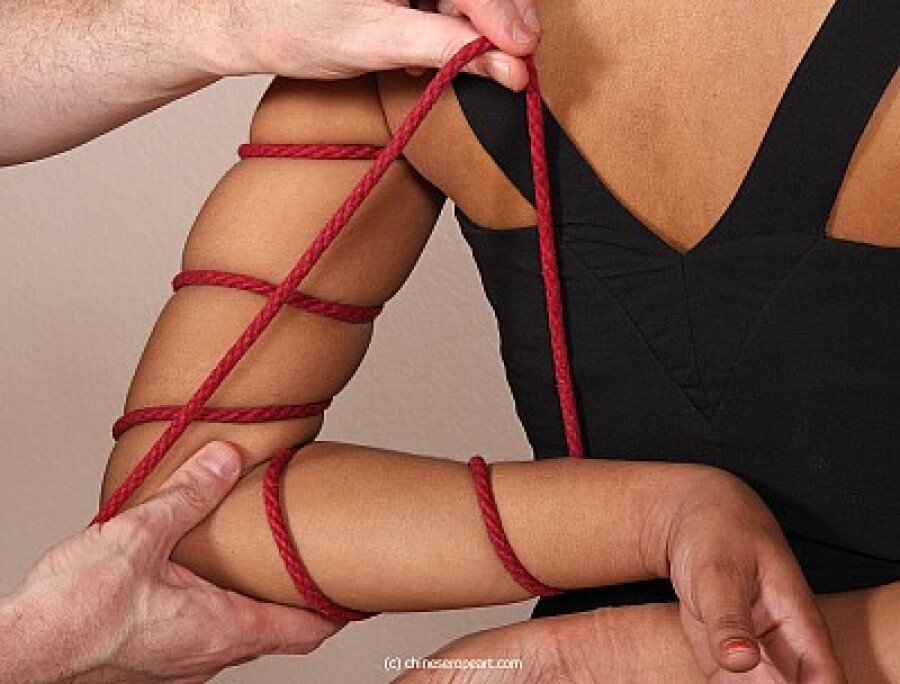
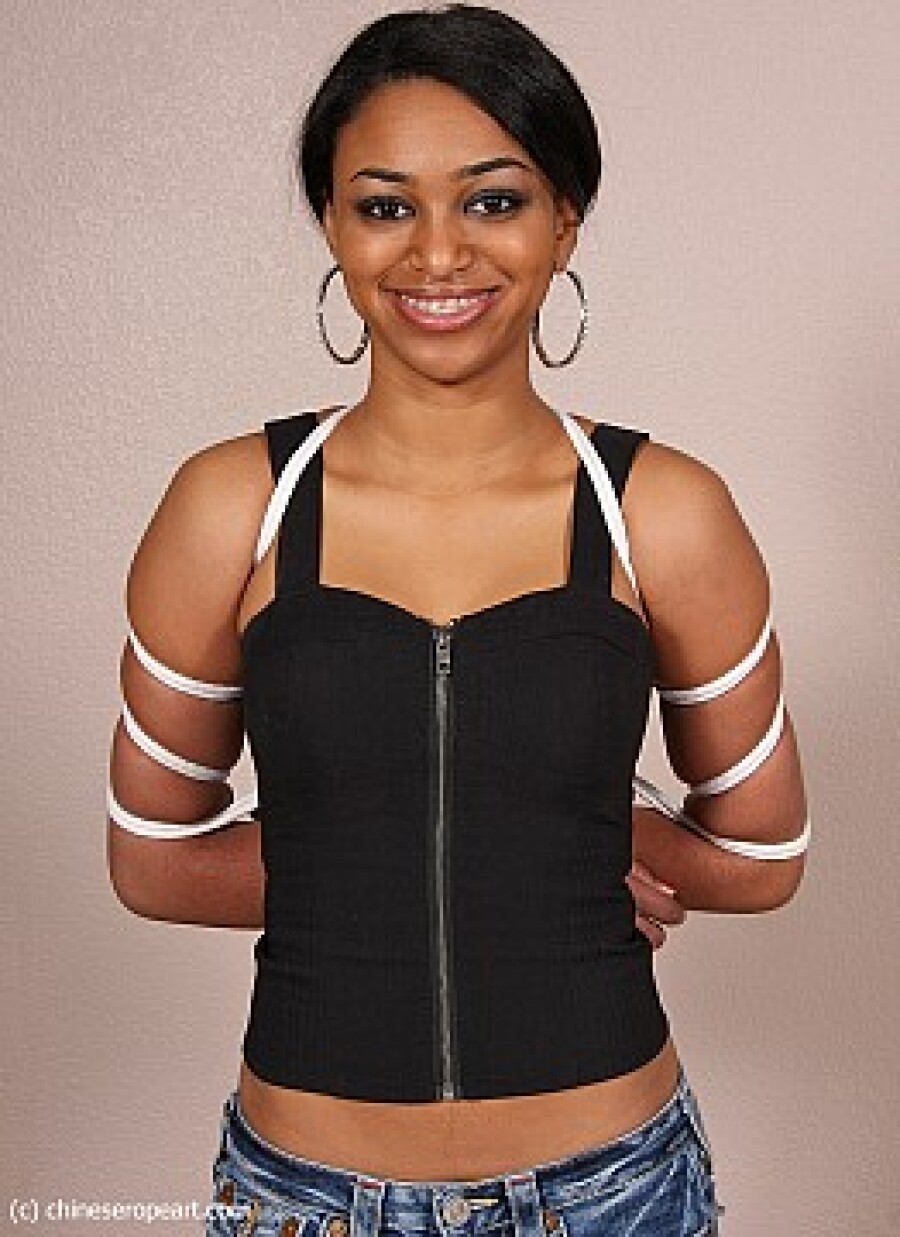
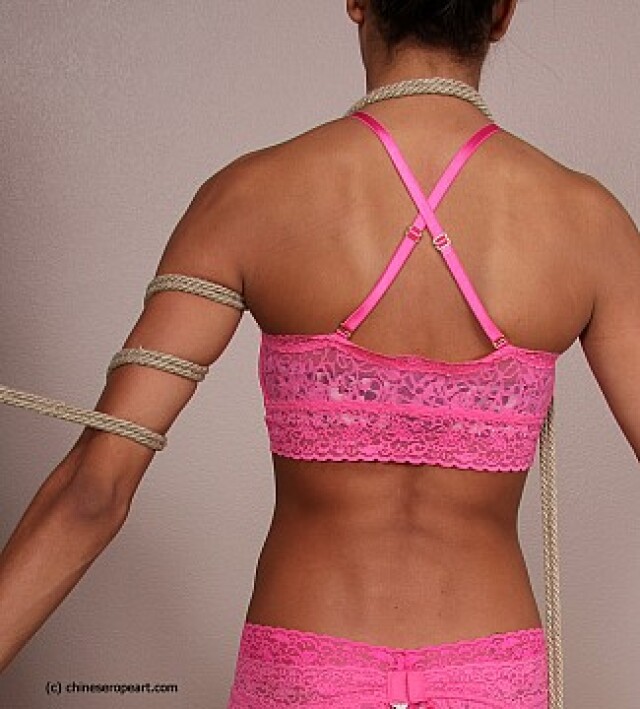
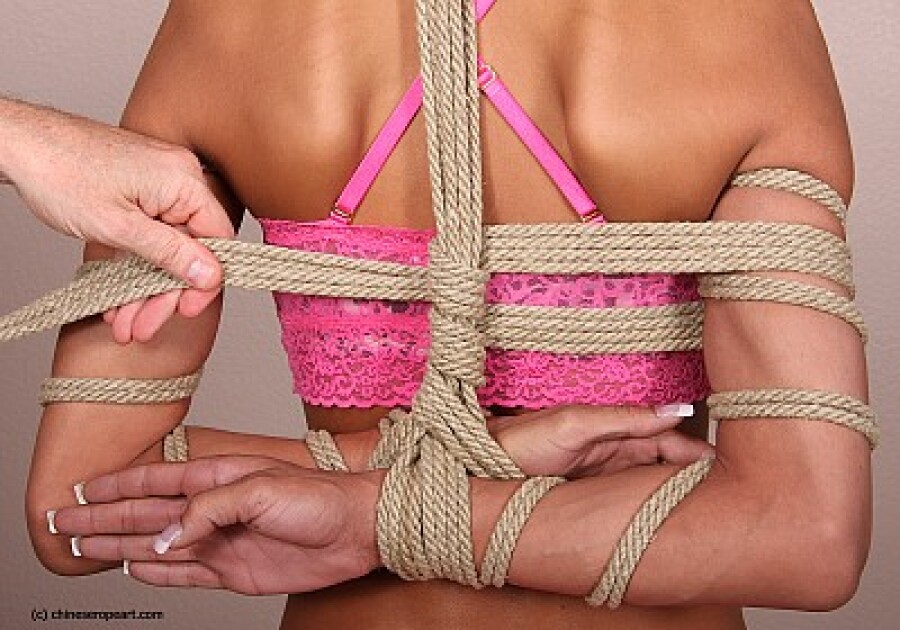
- Wrap the ropes around your arms in a spiral, from top to bottom. To avoid discomfort, the rope should go freely. The number of turns of your choice. Most often, three turns are used on the shoulder and two on the forearm;
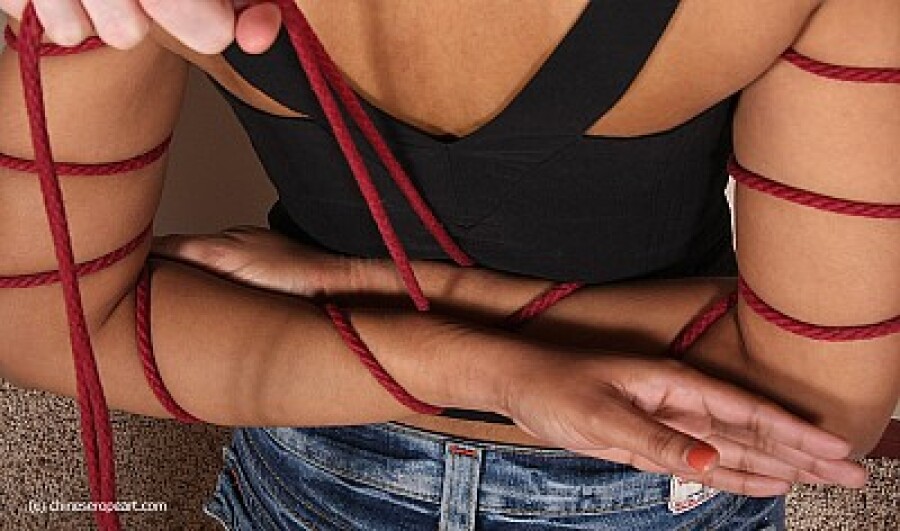
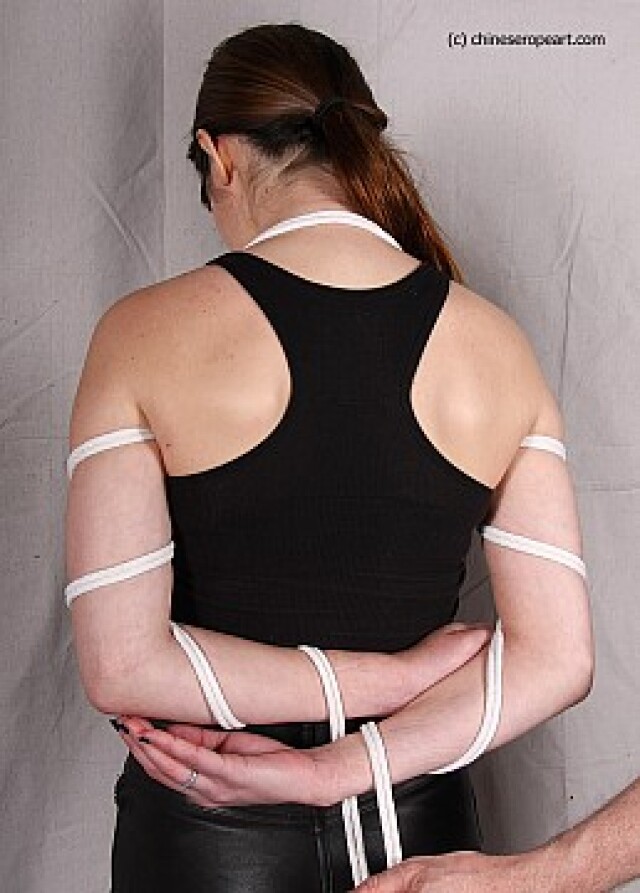
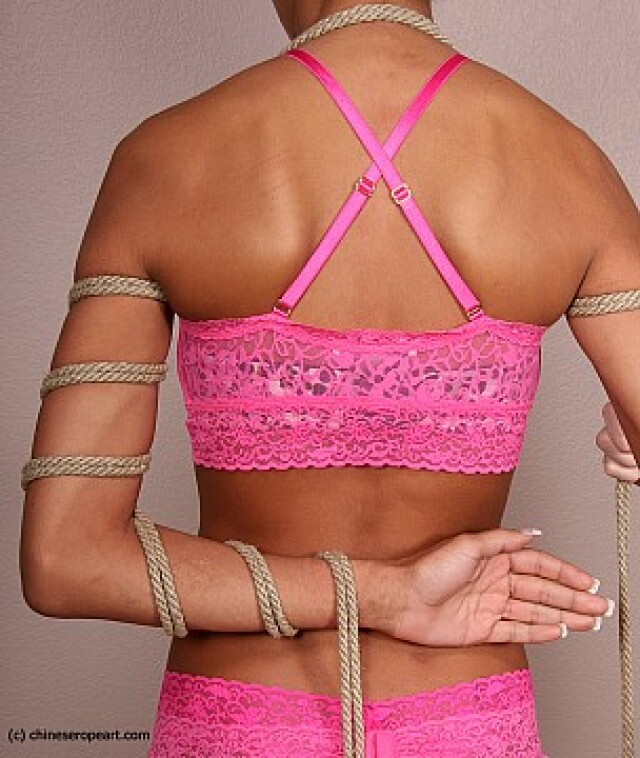
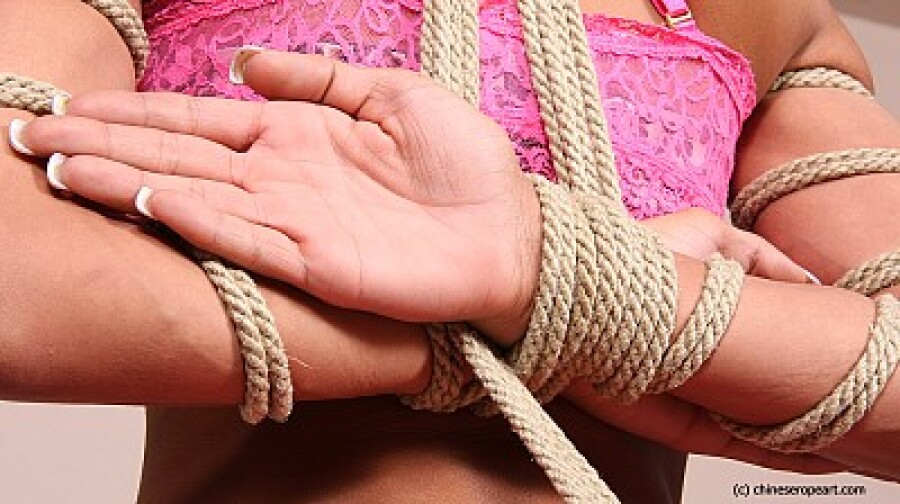
- On the last turn, make another half turn around the wrists so that the ropes are pointing up;
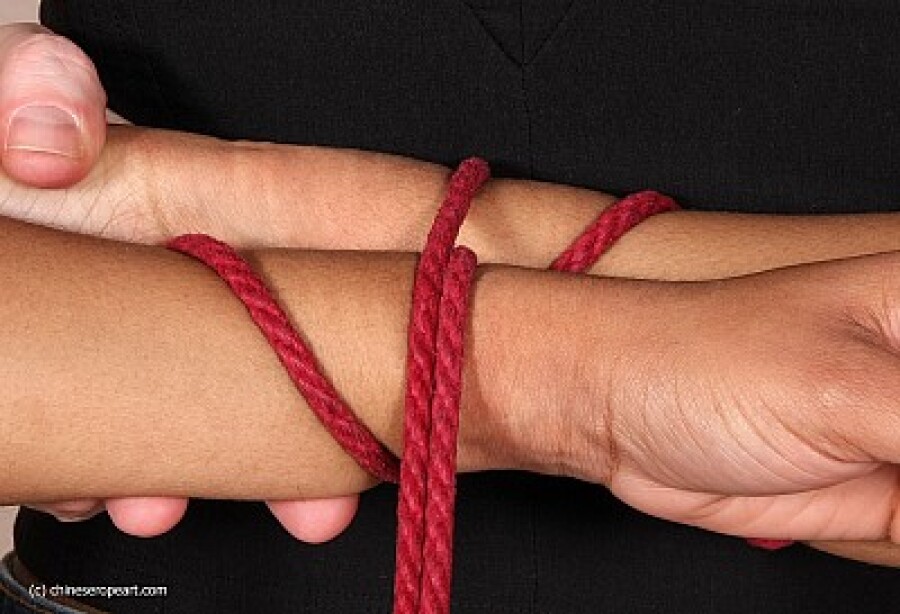
- Take both loose ends and wrap them around your wrists;
< ul>
< ul>
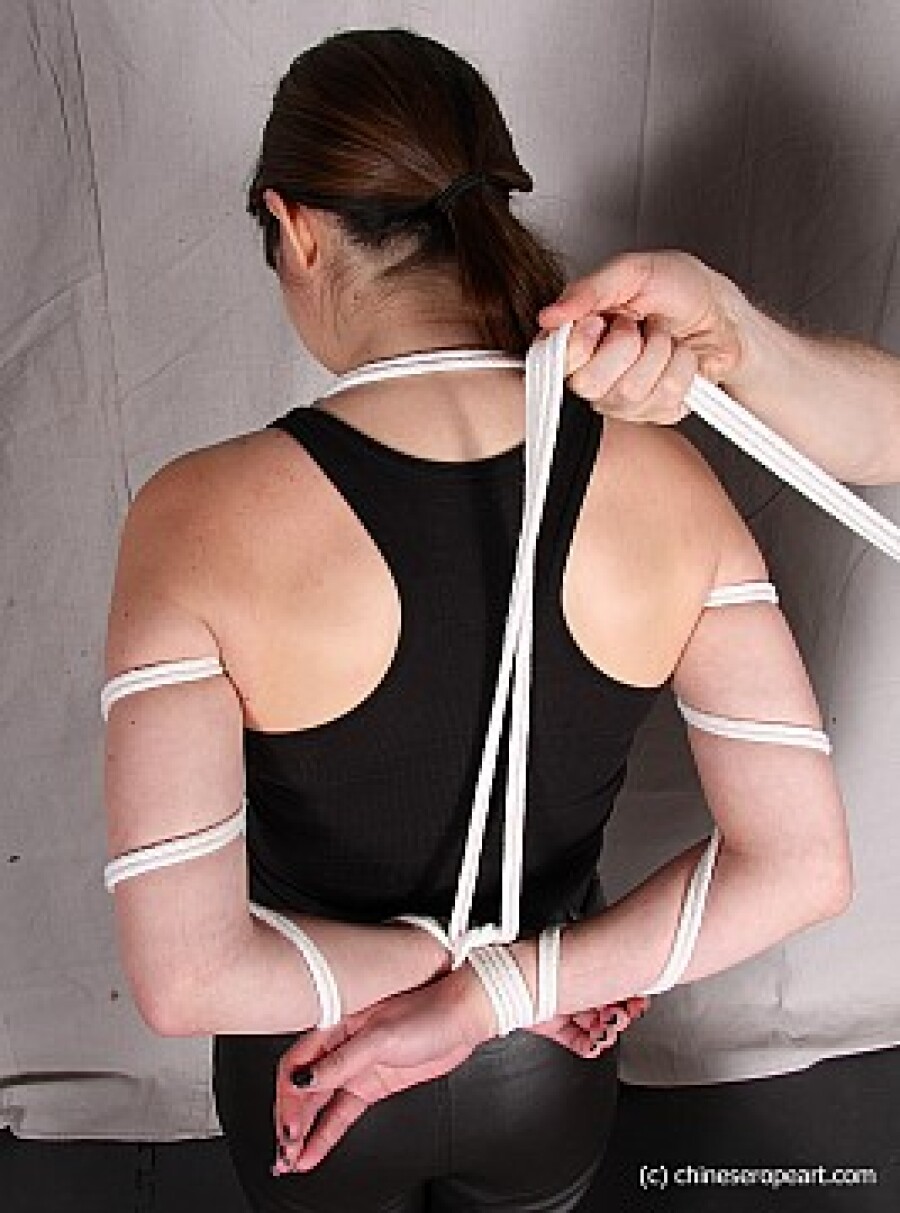
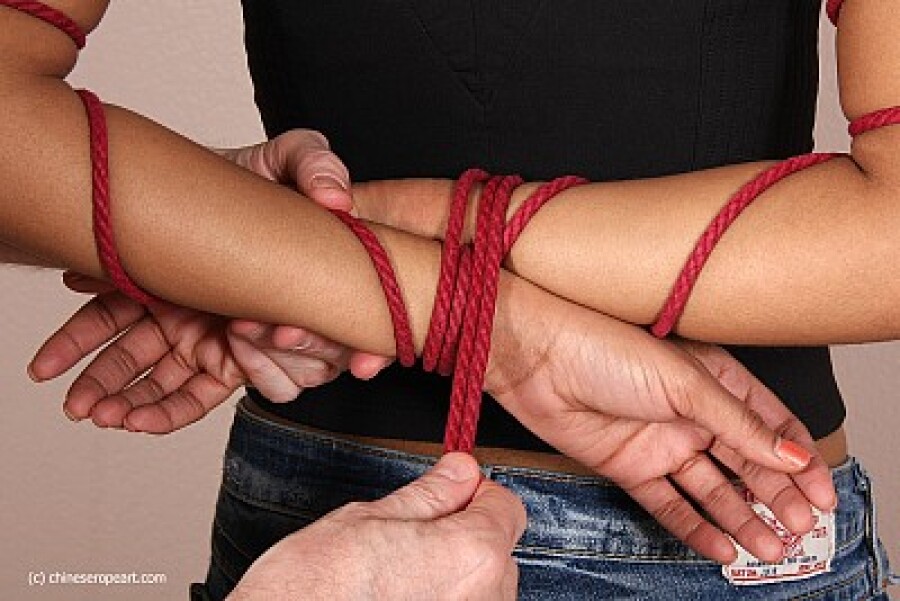
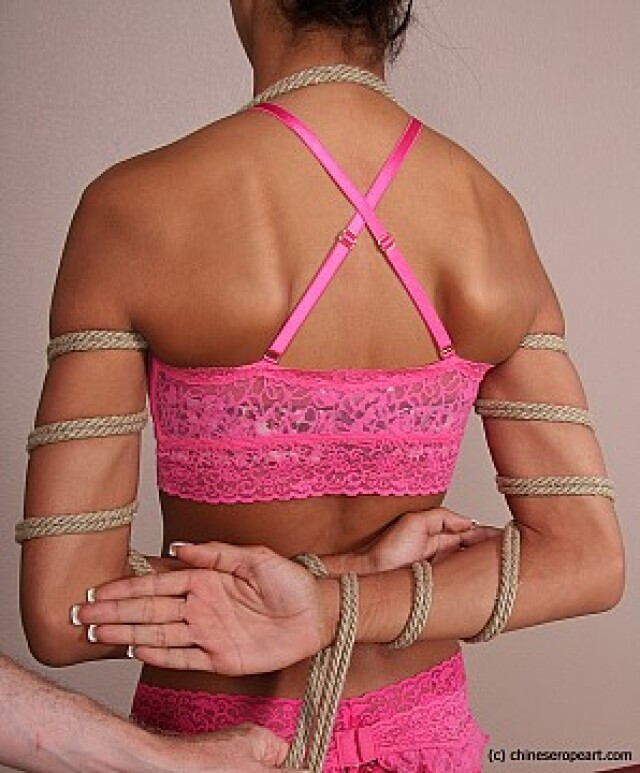
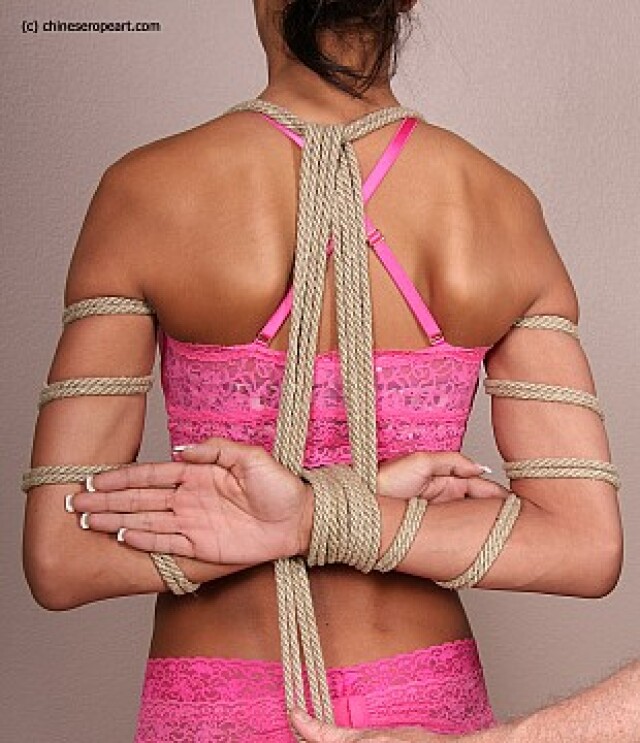
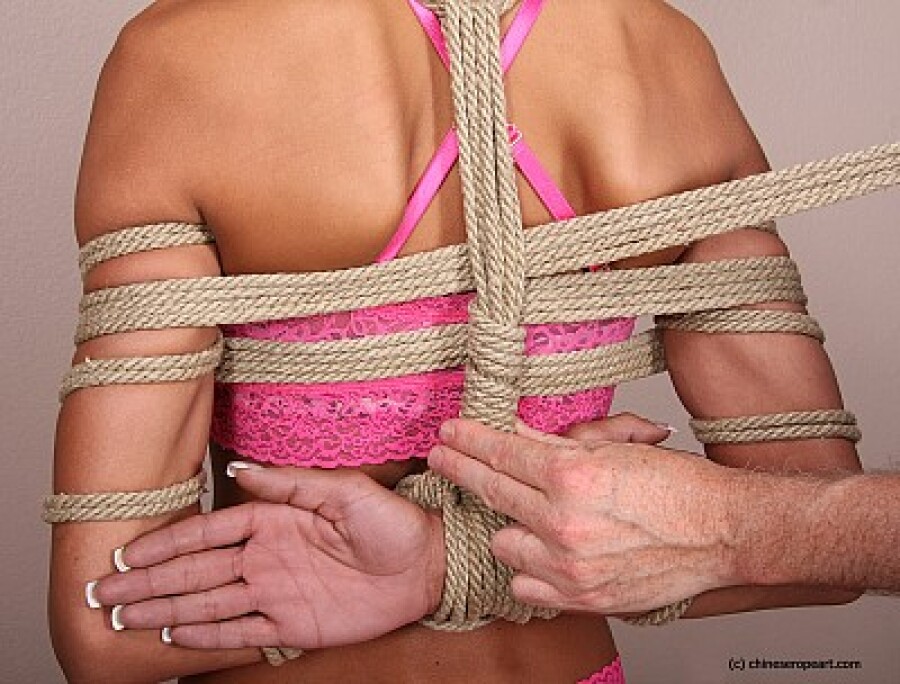
- Lift the rope up to the loop on the back of the neck, and then down to the bound wrists;
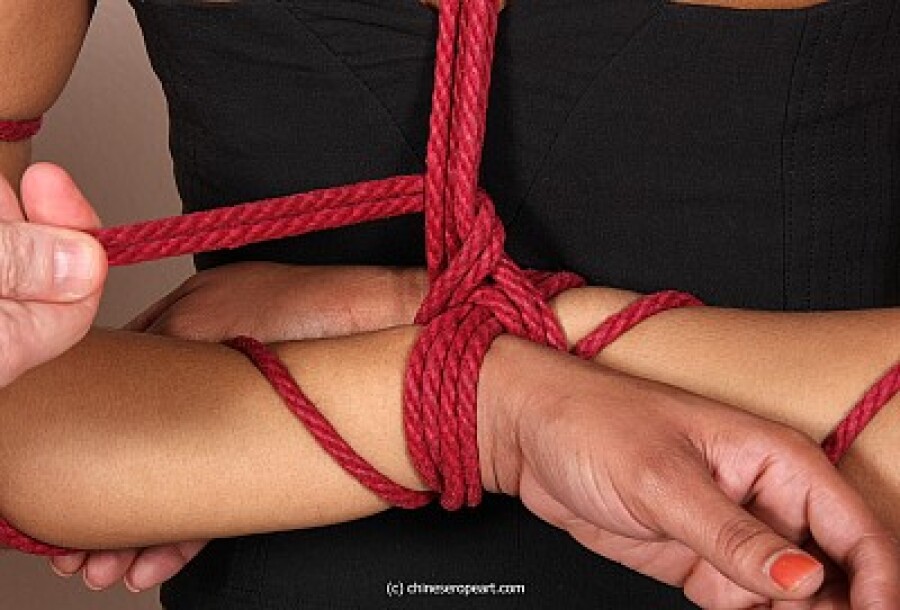
- Wrap the rope between and under the wrists to create a second grip knot, then begin wrapping it around the rope going up;
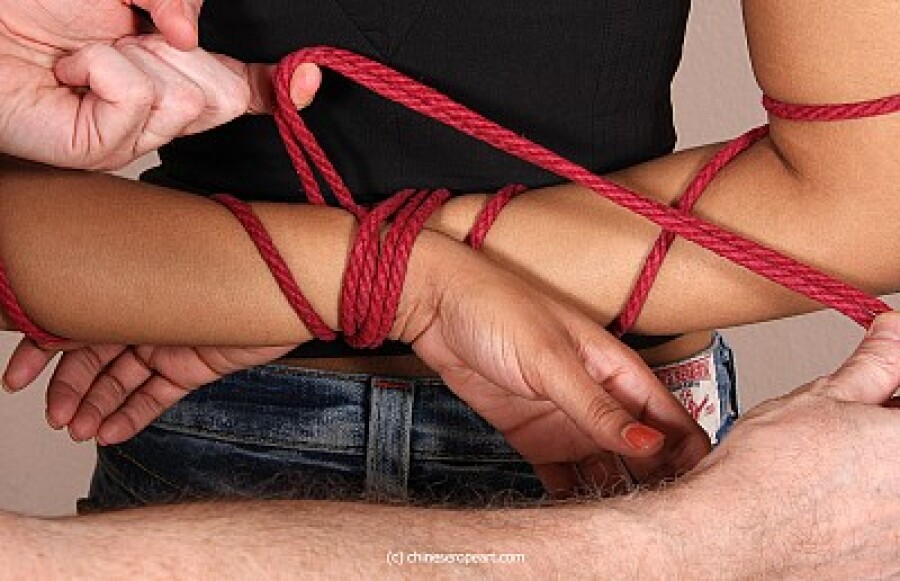
- The catch knot method takes up more space than the other options. If this does not suit you, then you can remove the second node. Instead of wrapping the rope around your wrists as you lower the rope down, wrap it around the wrist closest to you, down and under both hands, and then up between your wrists;
- Continue wrapping the rope so it runs straight;
- At the very top, pull one rope through the loop and pull the other back. This will allow you to tie a knot;
- Tie a knot, loose ends can be trimmed or tucked in for aesthetic appeal;
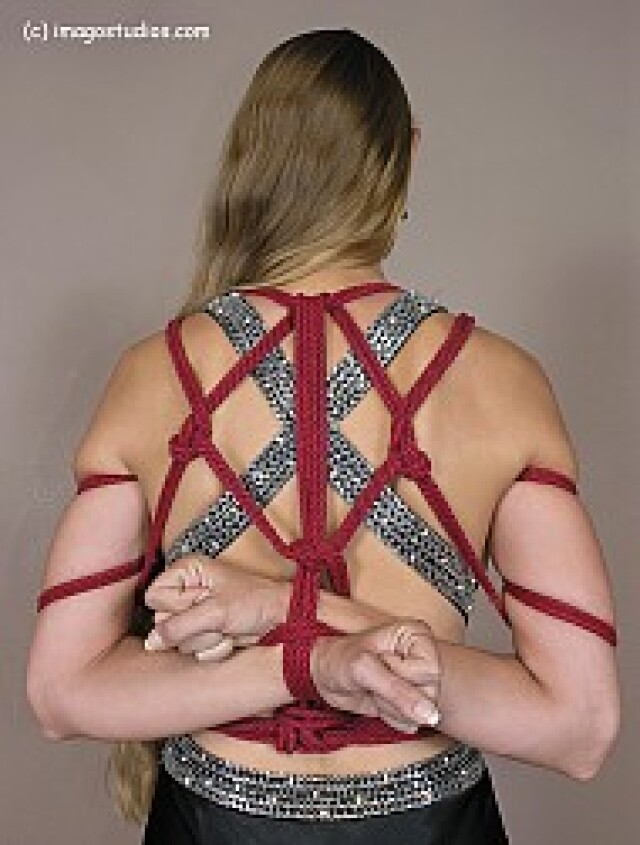
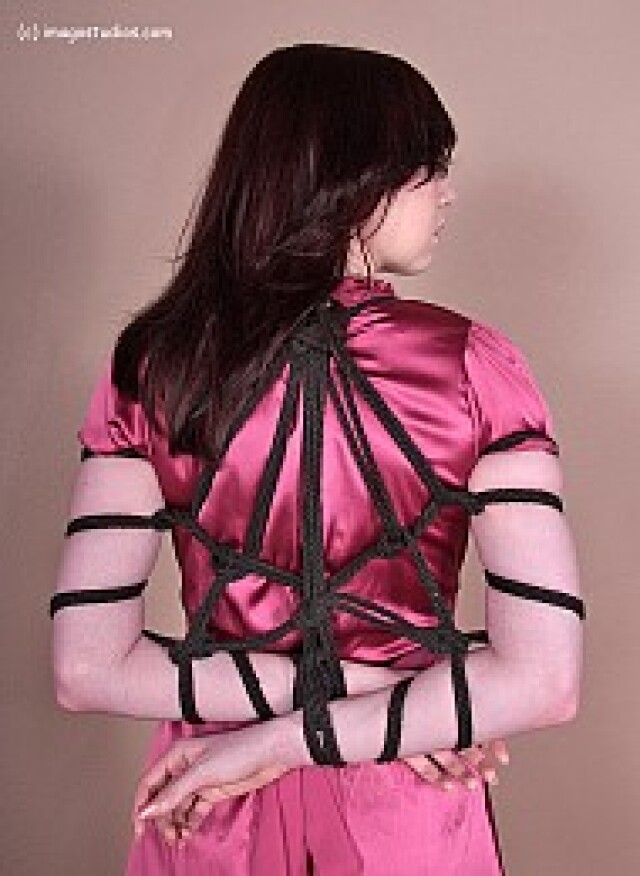
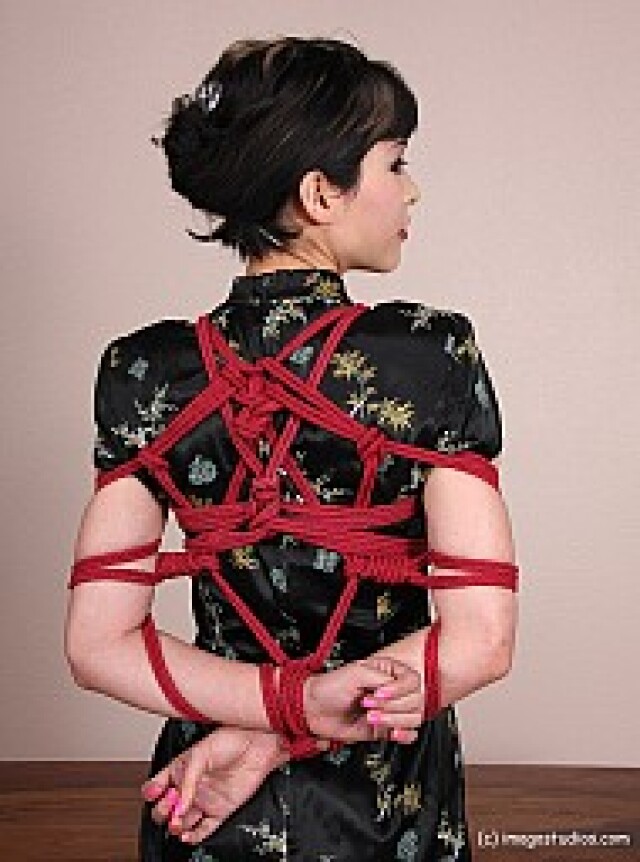
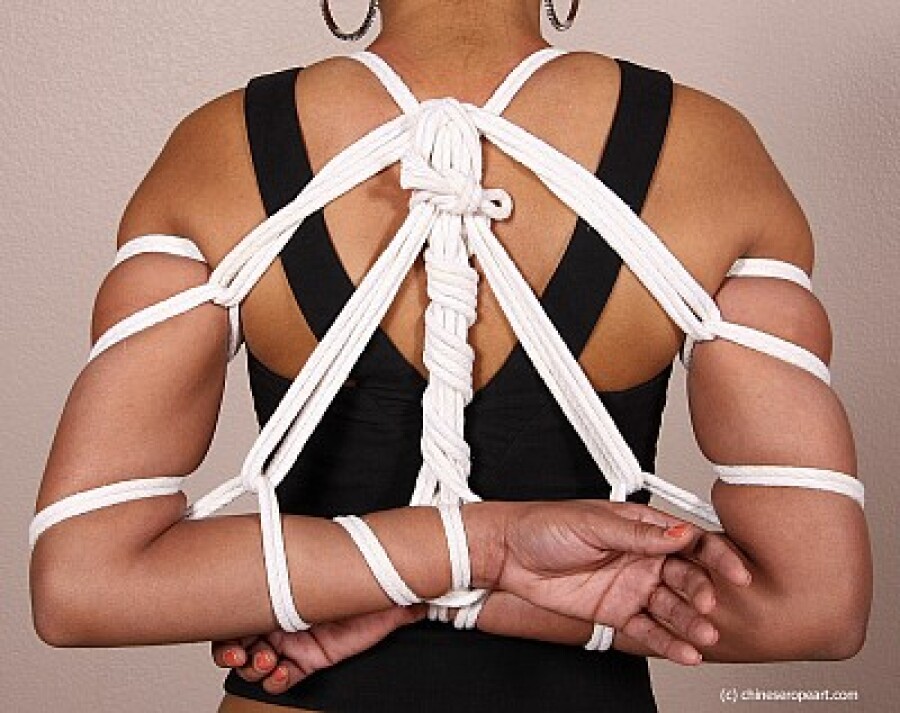
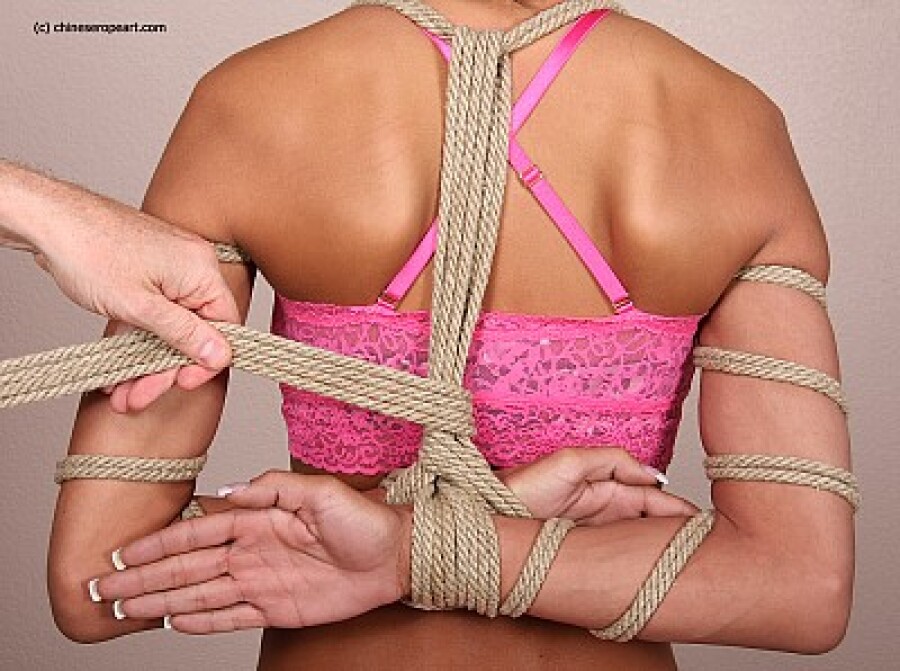
Linking with multiple spiral coils on the arms
Quite an attractive and unusual type of tying, creating an unusual geometric pattern.
- Follow the double rope tying instructions until you need to wrap the rope going vertically up;
< figure class="fulwidth-img new-img">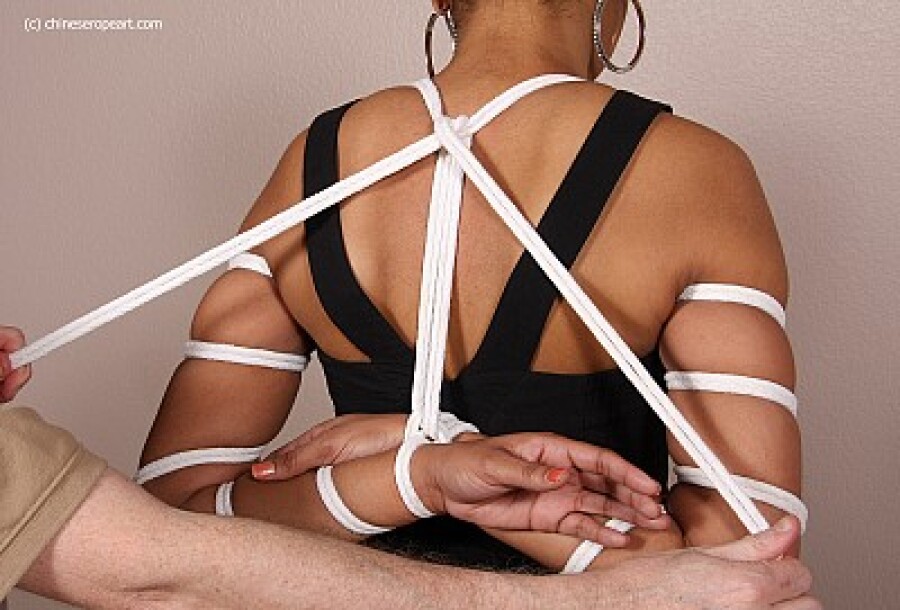
- In this version of tying, the loop on the neck should be looser, because the free ends of the rope will pass around it several times;
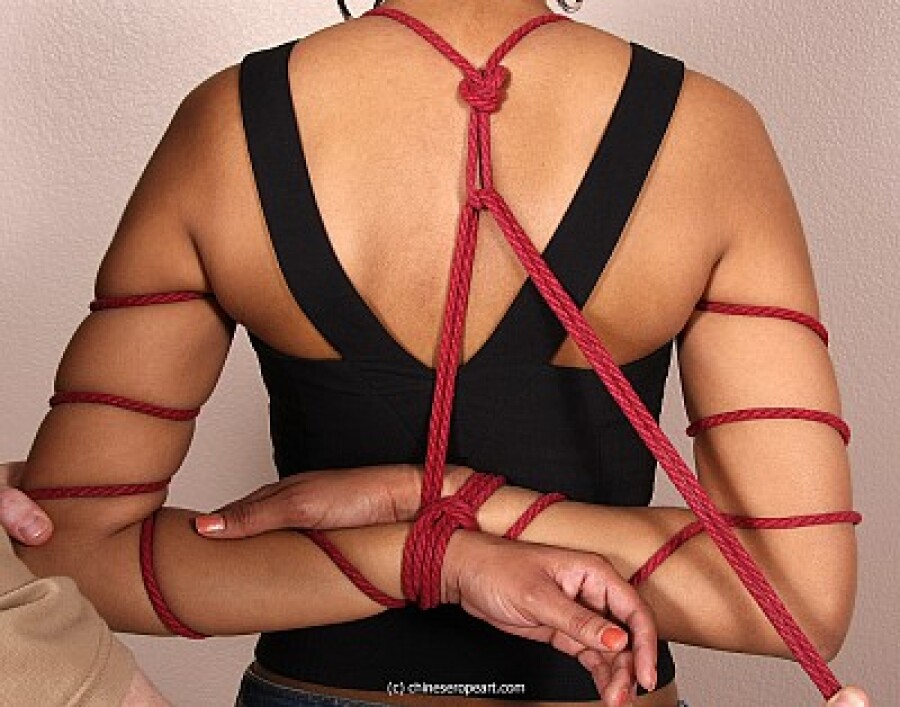
- Pull the double rope up from the knot at the wrist to the loop around the neck. Get under the rope and swipe down. It's best to wrap the rope around, it's optional but it won't slip around the noose around your neck;

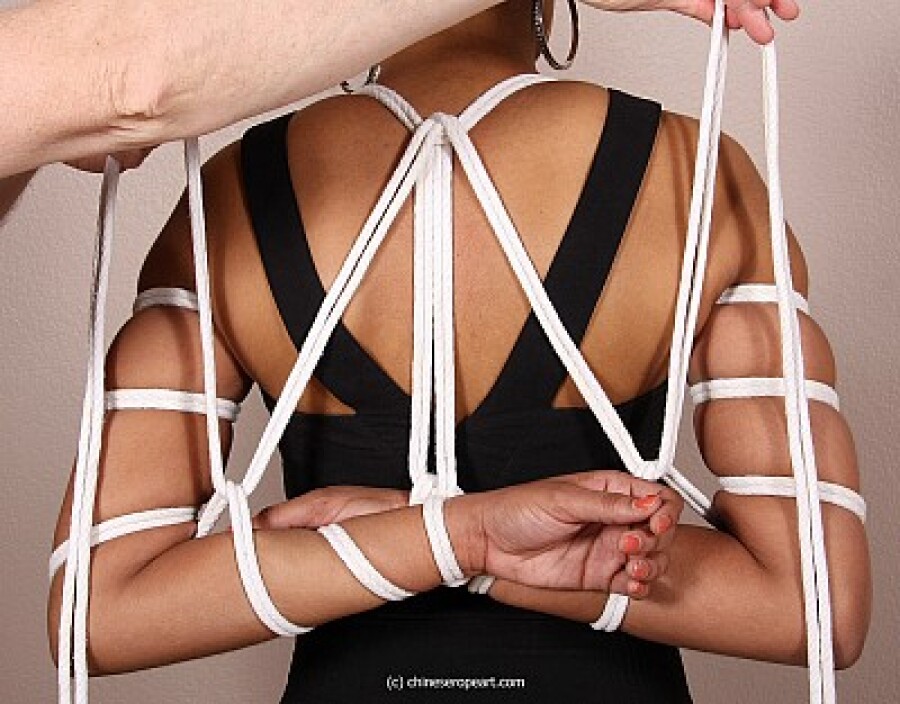
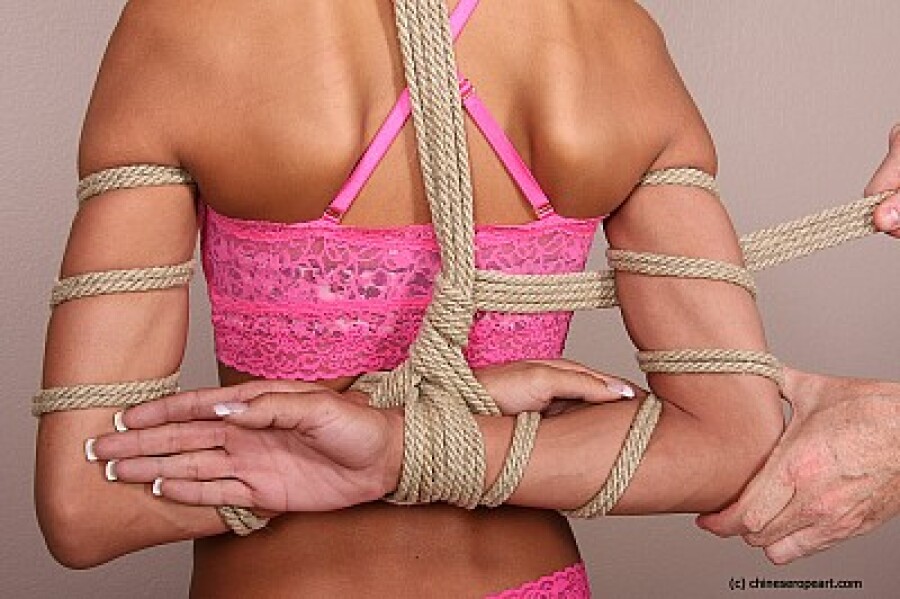
- Lower the rope down to one of spiral coils on the opposite arm. Bring it under the coil and lift it up;

- Pass each of the double ropes under the loop around the neck and down to another loop on the arm, this time at the top of the shoulder;
< ul>
- Start wrapping the rope going straight up;

< ul>
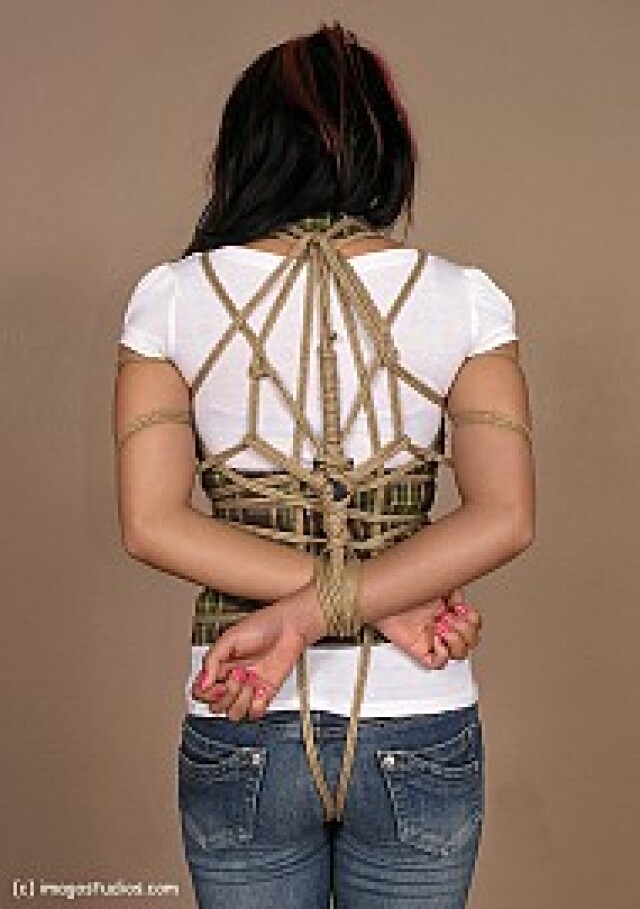
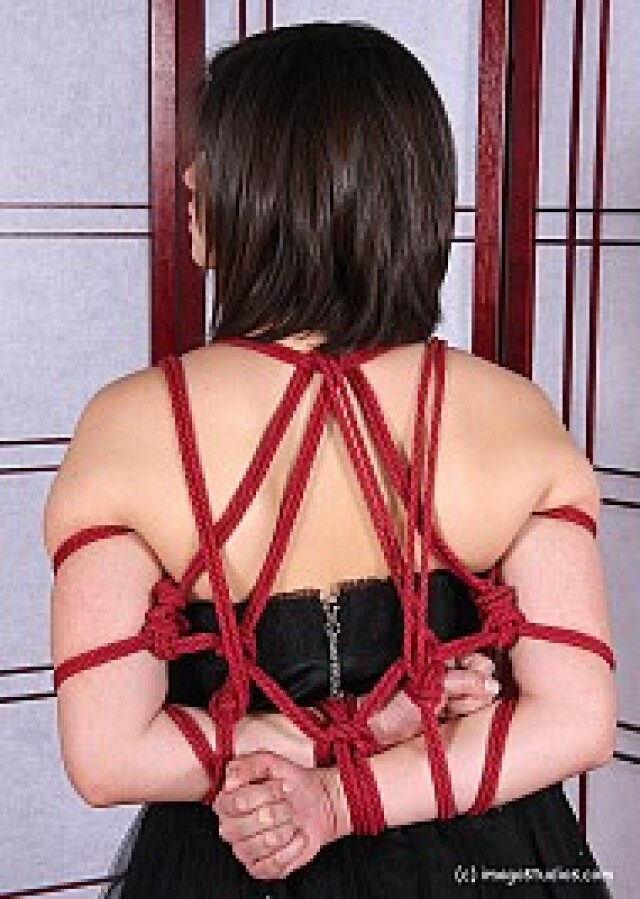
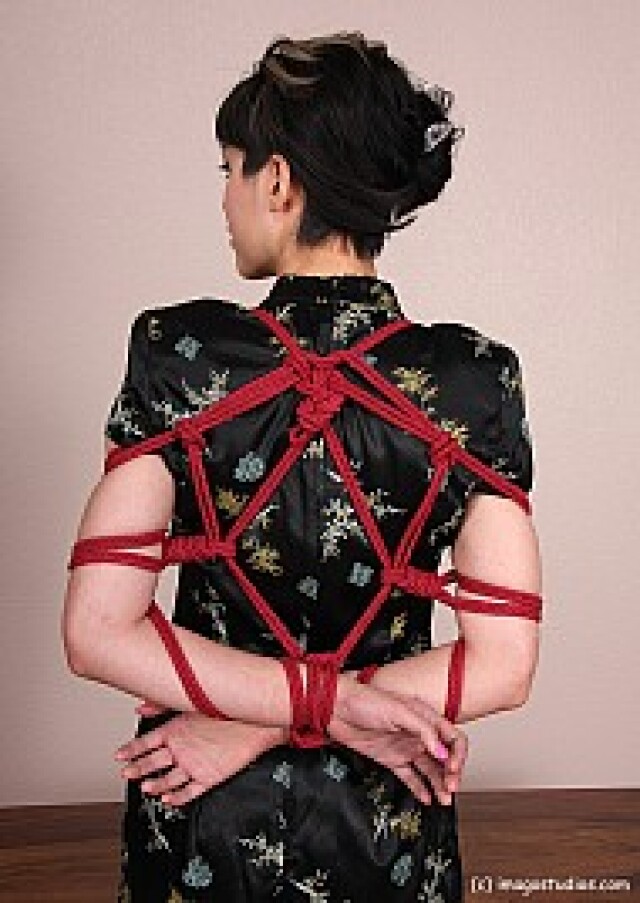
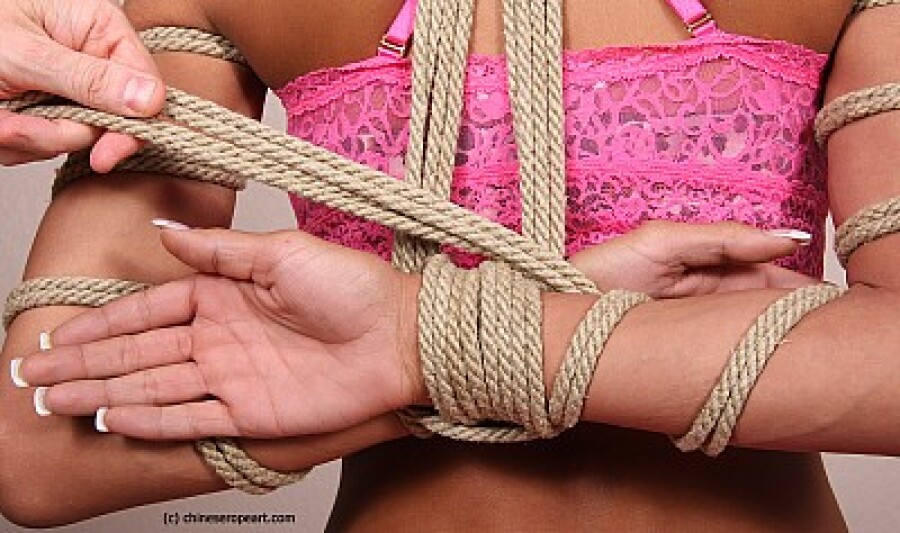
Pull the arms in the middle
This method uses a double rope to pull the hands to the center rope. But a single rope is also quite suitable. The method by which the wrists are bound is irrelevant. You can choose any of your choice.
- Fold the rope in half, find the middle and place the rope on the back of the neck. Throw the free ends over your shoulders so that they hang down;
- Get the ropes into the armpits and start from top to bottom, spirally wrap the rope around your hands. The number of turns depends on your preferences. Usually 3 turns are done on the shoulder and 2 on the forearm. Do not forget that the rope must lie freely, otherwise it will cause discomfort later;
- When you're done, the risers will hang down, one pair between the wrists and the other on the outside;
- Take both double ropes and wrap them around your wrists twice.
- Then bring the rope up to the noose around the neck;
- Bring it under the noose around the neck and lower it down between wrists;
- Wrap once around your wrists and begin wrapping the free ends around the rope going up;
< ul>
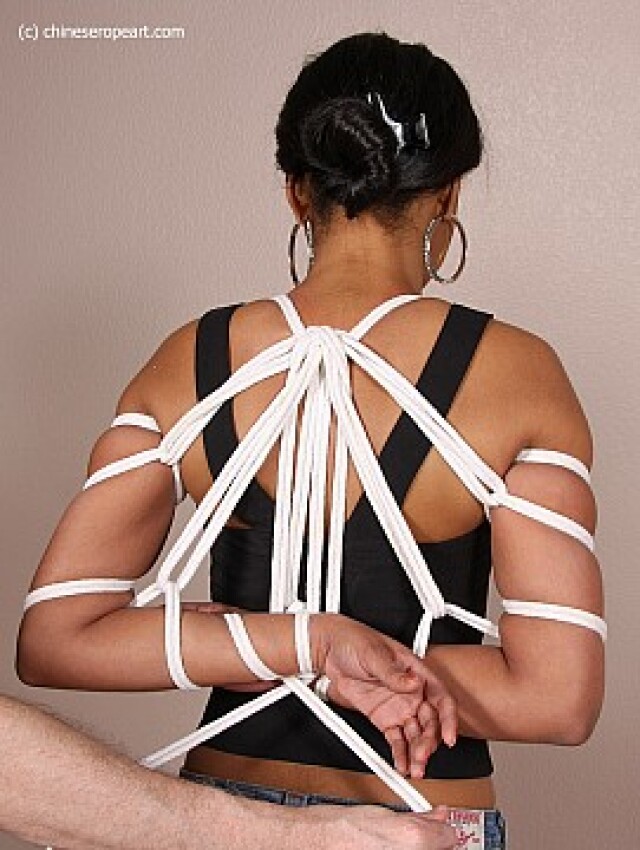
- Return to the center rope. Wrap around a few times again, and this time bring the rope to your left arm;
- Now, back to the center rope, start wrapping it carefully up to the loop around your neck;
< figure class="fulwidth-img new-img">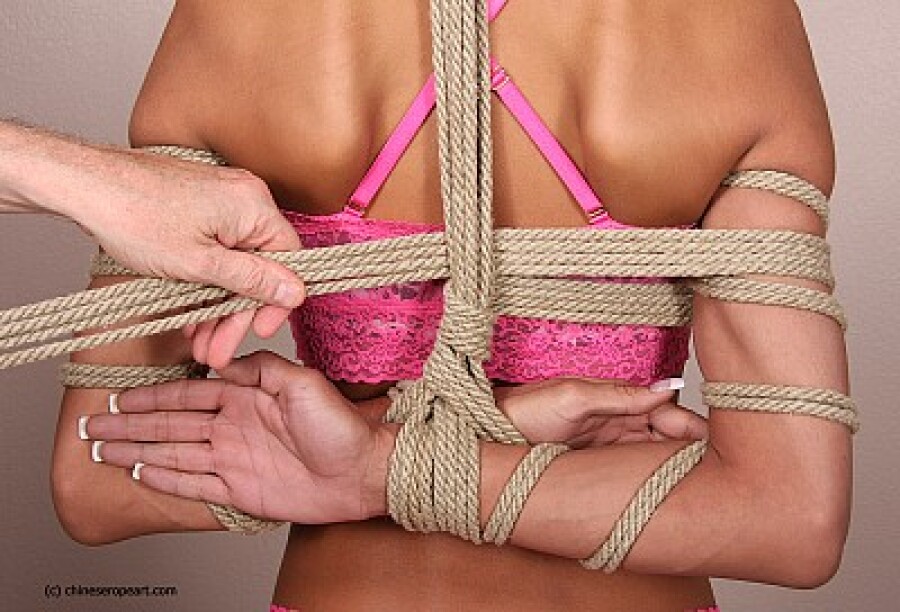

- Pass one of the twin ropes through the loop so the rope changes direction;
- Tie a straight knot;

- Cut the ends or tuck them in;